

Hello again everyone and welcome to another SUO challenge. This time the theme is Sky High - anything that flies, so this gives quite alot of scope for designing. I've chosen to use butterflies for my design this time as I love to see them fluttering about in the sky.........
Please do remember to visit the #SUOC270 challenge page and maybe enter the challenge yourself, we'd all love to see what you create.

I've chosen to make a relatively simple easel card today, these fold cards are so great to look at and you can make them in so many different sizes, so let's begin........
Materials needed:
Basic white thick cardstock
1pc - 4-1/8" x 11-1/2 scored on long side at 2-7/8" and 5-3/4" - card base
1pc - 4-1/8" x 5-3/4" for the front of card layer
1pc - 3-7/8" x 8-1/4" for front of card layer and front base of card
Scrap piece for die cutting frame section and sentiment piece
Shimmery white cardstock
2pc - approx 3" x 4" for the stamping and die cutting of butterflies
Melon mambo cardstock
1pc - 4" x 5-5/8" for the base of card
1pc - approx 1-5/8" x 2-5/8" for the sentiment
Sand and sea dsp
1pc - 3-7/8" x 8-1/4" for the covering of the white card for front and base of card
Snail mail twine
Rhinestone basic jewels
Blender pen
Clear wink of stella
Clear block A
Melon mambo ink pad
So saffron ink pad
Card Instructions
1. Fold and burnish the card base so that it looks like below

2. Glue the melon mambo piece of cardstock onto the section of the base card that hasn't got a fold in it, this is now the base of the card and the folded section is the front of the card.
3. Glue the dsp piece onto the white card that measures the same. Once dry cut this section so that you end up with two pieces one 5-1/2" long and the other 2-3/4" long. The smaller section can now be glued to the base of the card, on top of the melon mambo.
4. The dsp section that is left now needs to have the frame section cut out from the middle, I went about 1" from the top.
5. Using the foam adhesive sheets cut lengths not too wide to cover the reverse side of the frame dsp section (I've used the sheets as it gives more stability than dimensionals), this can now be adhered to the white front of card layer making sure you have a nice even border showing and then glued flat to the front of the card itself.

6. The section that was die cut out of the front card/dsp piece can now be glued flat into the apperture it came from.
7. Stamp using melon mambo ink the frame image and then die cut it out using the corresponding die. I then using a rule and craft knife carefully cut the centre section of the frame out and put it to one side, then glued the frame section in the apperture just to give this a bit of depth, but you don't need to necessarily do this yourselves, I just liked how it looked.
8. The section that I carefully cut out with my craft knife I then stamped again using melon mambo ink, the sentiment from 'You are amazing' stampset, glued it to the melon mambo piece of cardstock and then glued it flat to the front of the base of card.
9. Stamp the butterflies image onto the two pieces of shimmery cardstock (I find that this cardstock is best to use when blending the colours and it gives a bit of shimmer as well) and die cut them out, this can be done in one go through the die cutting machine as there are two of these dies within the set.
10. I dabbed the clear block A into the so saffron ink pad and then using a blend pen I coloured the butterflies in, taking the ink from the block and bleeding the melon mambo ink out as you go (this can be done before you die cut the butterflies out).
11. Brush wink of stella over the butterflies and then give them all some depth using a bone folder and glue flat into place.

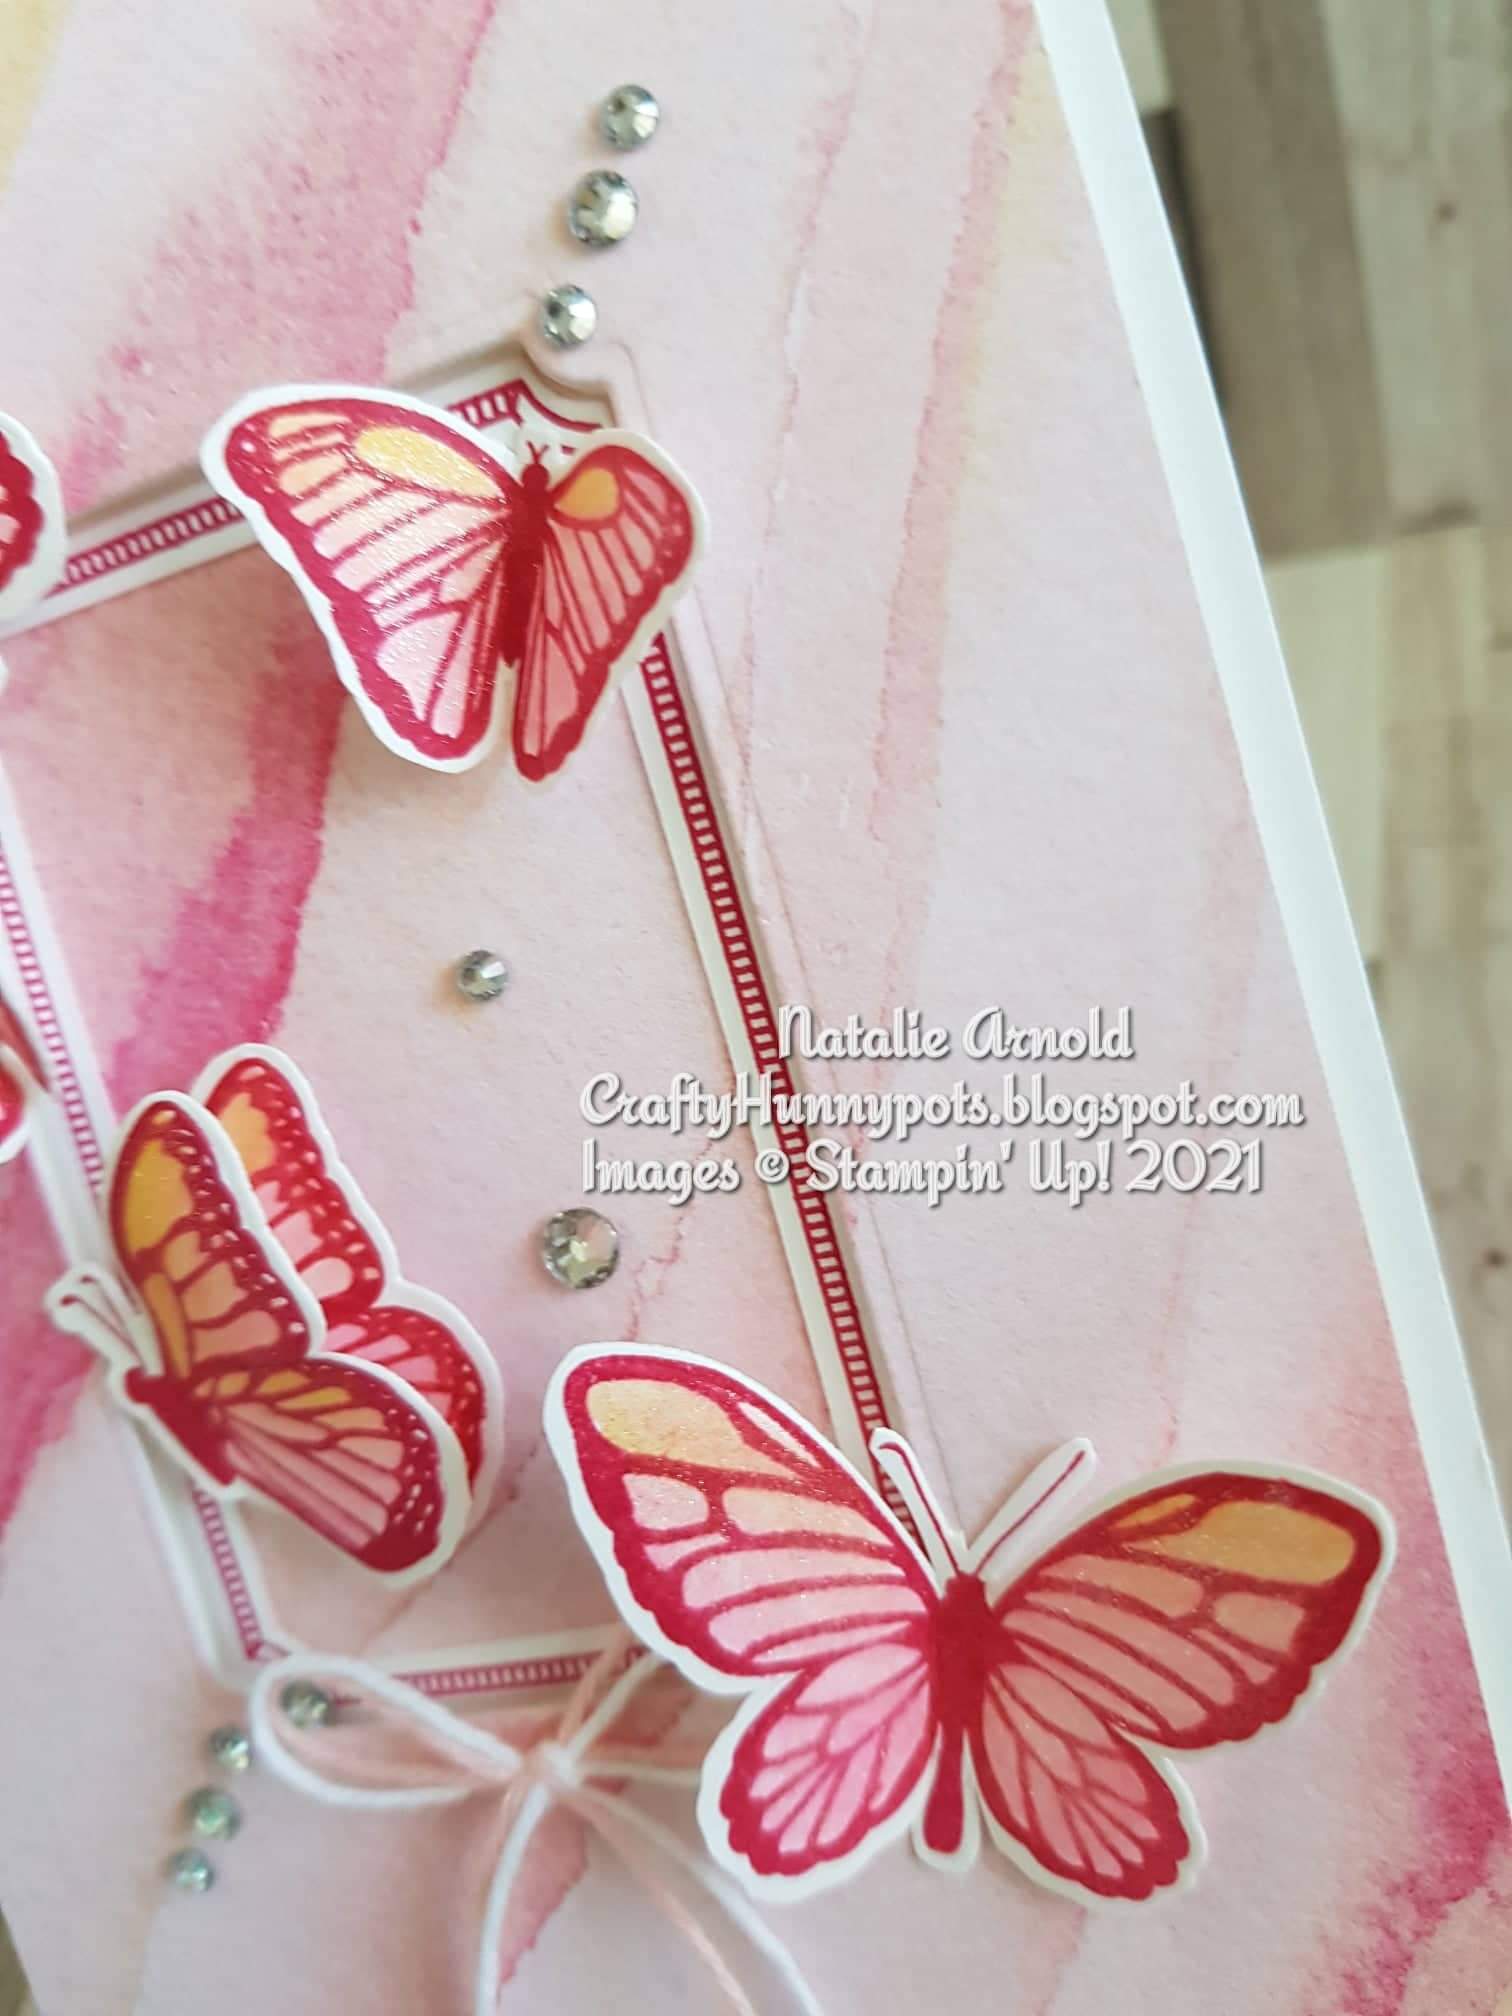
12. Attach the basic jewels to the card front using the pokey tool on the take your pick tool. Tie a double bow using a piece of each of the colour twine and attach this to the card front using a glue dot.
That is my card for today finished, quite a simple card to acheive, but a very pleasing one when finished.
Thankyou so much for stopping by and taking a look at my blog I really appreciate it.
Take care and see you all again very soon.
Huge Crafty Hugs
Natalie x
MARCH HOST CODE
UHRH3YRC
Please if shopping with myself and your order is under £150 use my host code and then I can send a small thankyou gift to you the following month x
Product List
 |  | |
 |  |  |
 | ||
 |  |  |
 |  | |
 |  |  |
 |  |  |
 |
")


Absolutely stunning card Natalie, love the colours and of course the flutterby's they are displayed beautifully on your easel card base, many thanks for sharing :)
ReplyDeleteAhhhh thanks Anne I love these butterflies they're so pretty and I love making easel cards so it was a win win for me x
DeleteThis comment has been removed by the author.
ReplyDelete