

Happy New year everyone, and welcome to another Kylie Bertucci monthly International blog highlights. I can't believe it's come round again so quickly. The theme is an ongoing theme so therfore it's Thankyou again and I think we all need to say thanks for many things.
The card I'm making today uses products that are all available from the main annual catalogue, which I think we tend to forget are still about. I'd be really grateful if you like the card, if you popped over and gave me your vote, let's see if I can make it in to the top ten this year!
So let's get started with the card ......
Materials needed:
Purple Posy cardstock
1pc - 5 7/8" x 8 1/4" scored at 4 1/8" for the cardbase
Scrap piece for stamping and fussy cutting the flower/branches
Scrap piece to die cut the small rectangle for the sentiment
Whisper white cardstock
1pc - 5 3/4" x 8" scored at 4" for the inner card
Scrap pieces for 3 large butterflies and 3 small butterflies
Scrap piece for matting behind the sentiment rectangle
Card recipe:
1. Cut and score the cardbase (do not burnish at this time). Now using the rectangle die that measures approx 2 3/4" x 4 1/8" (4th largest of the dies), die cut the middle front of card, then burnish the card.
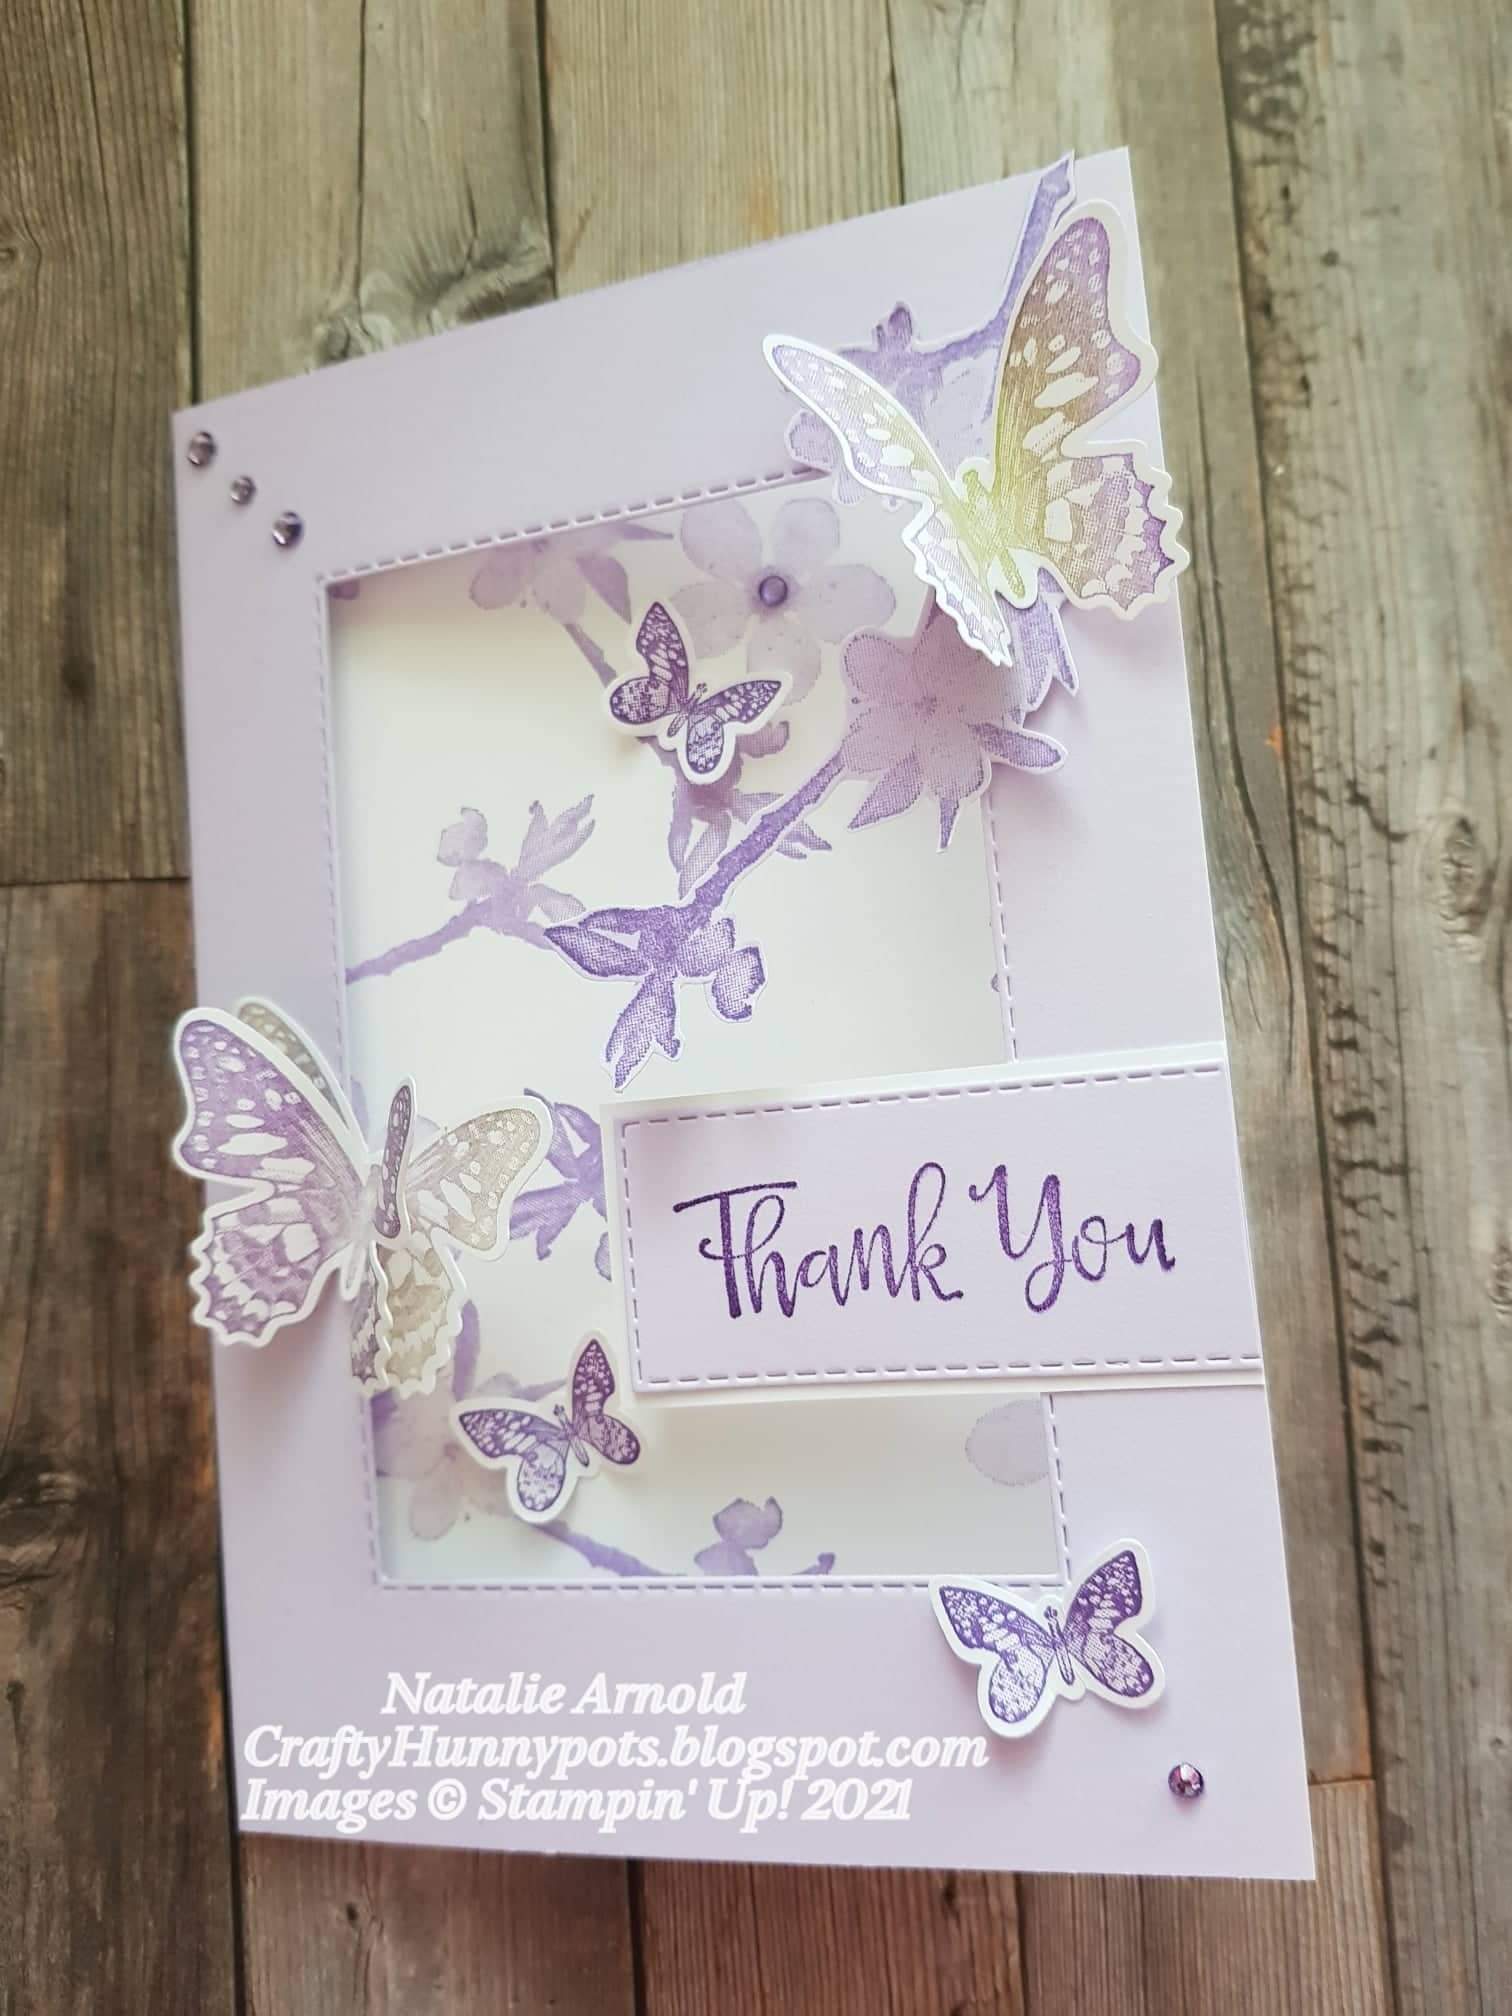
2. Cut score and burnish the inner card. Stamp onto the front of the card, using the flower/branch stamp and Highland heather ink, then add in some of the flower stamps to fill some of the gaps. Stamp one of the flower/branch images onto the inside of this piece too.


3. Glue the inner card back flat to the inside of the cardbase, making sure you don't go too near to the fold of the card base.
4. Stamp 3 small butterflies using Gorgeous grape ink and then using the punch cut them out. Give the wings a slight curve using a bone folder to make them look like they are flying, then glue them to the card.
5. Using Gorgeous grape ink stamp the flower/branch onto the scrap piece of Purple posy card and then fussy cut it out with your snips. Glue this onto the top right corner of the cardbase having some of it hanging over into the centre.
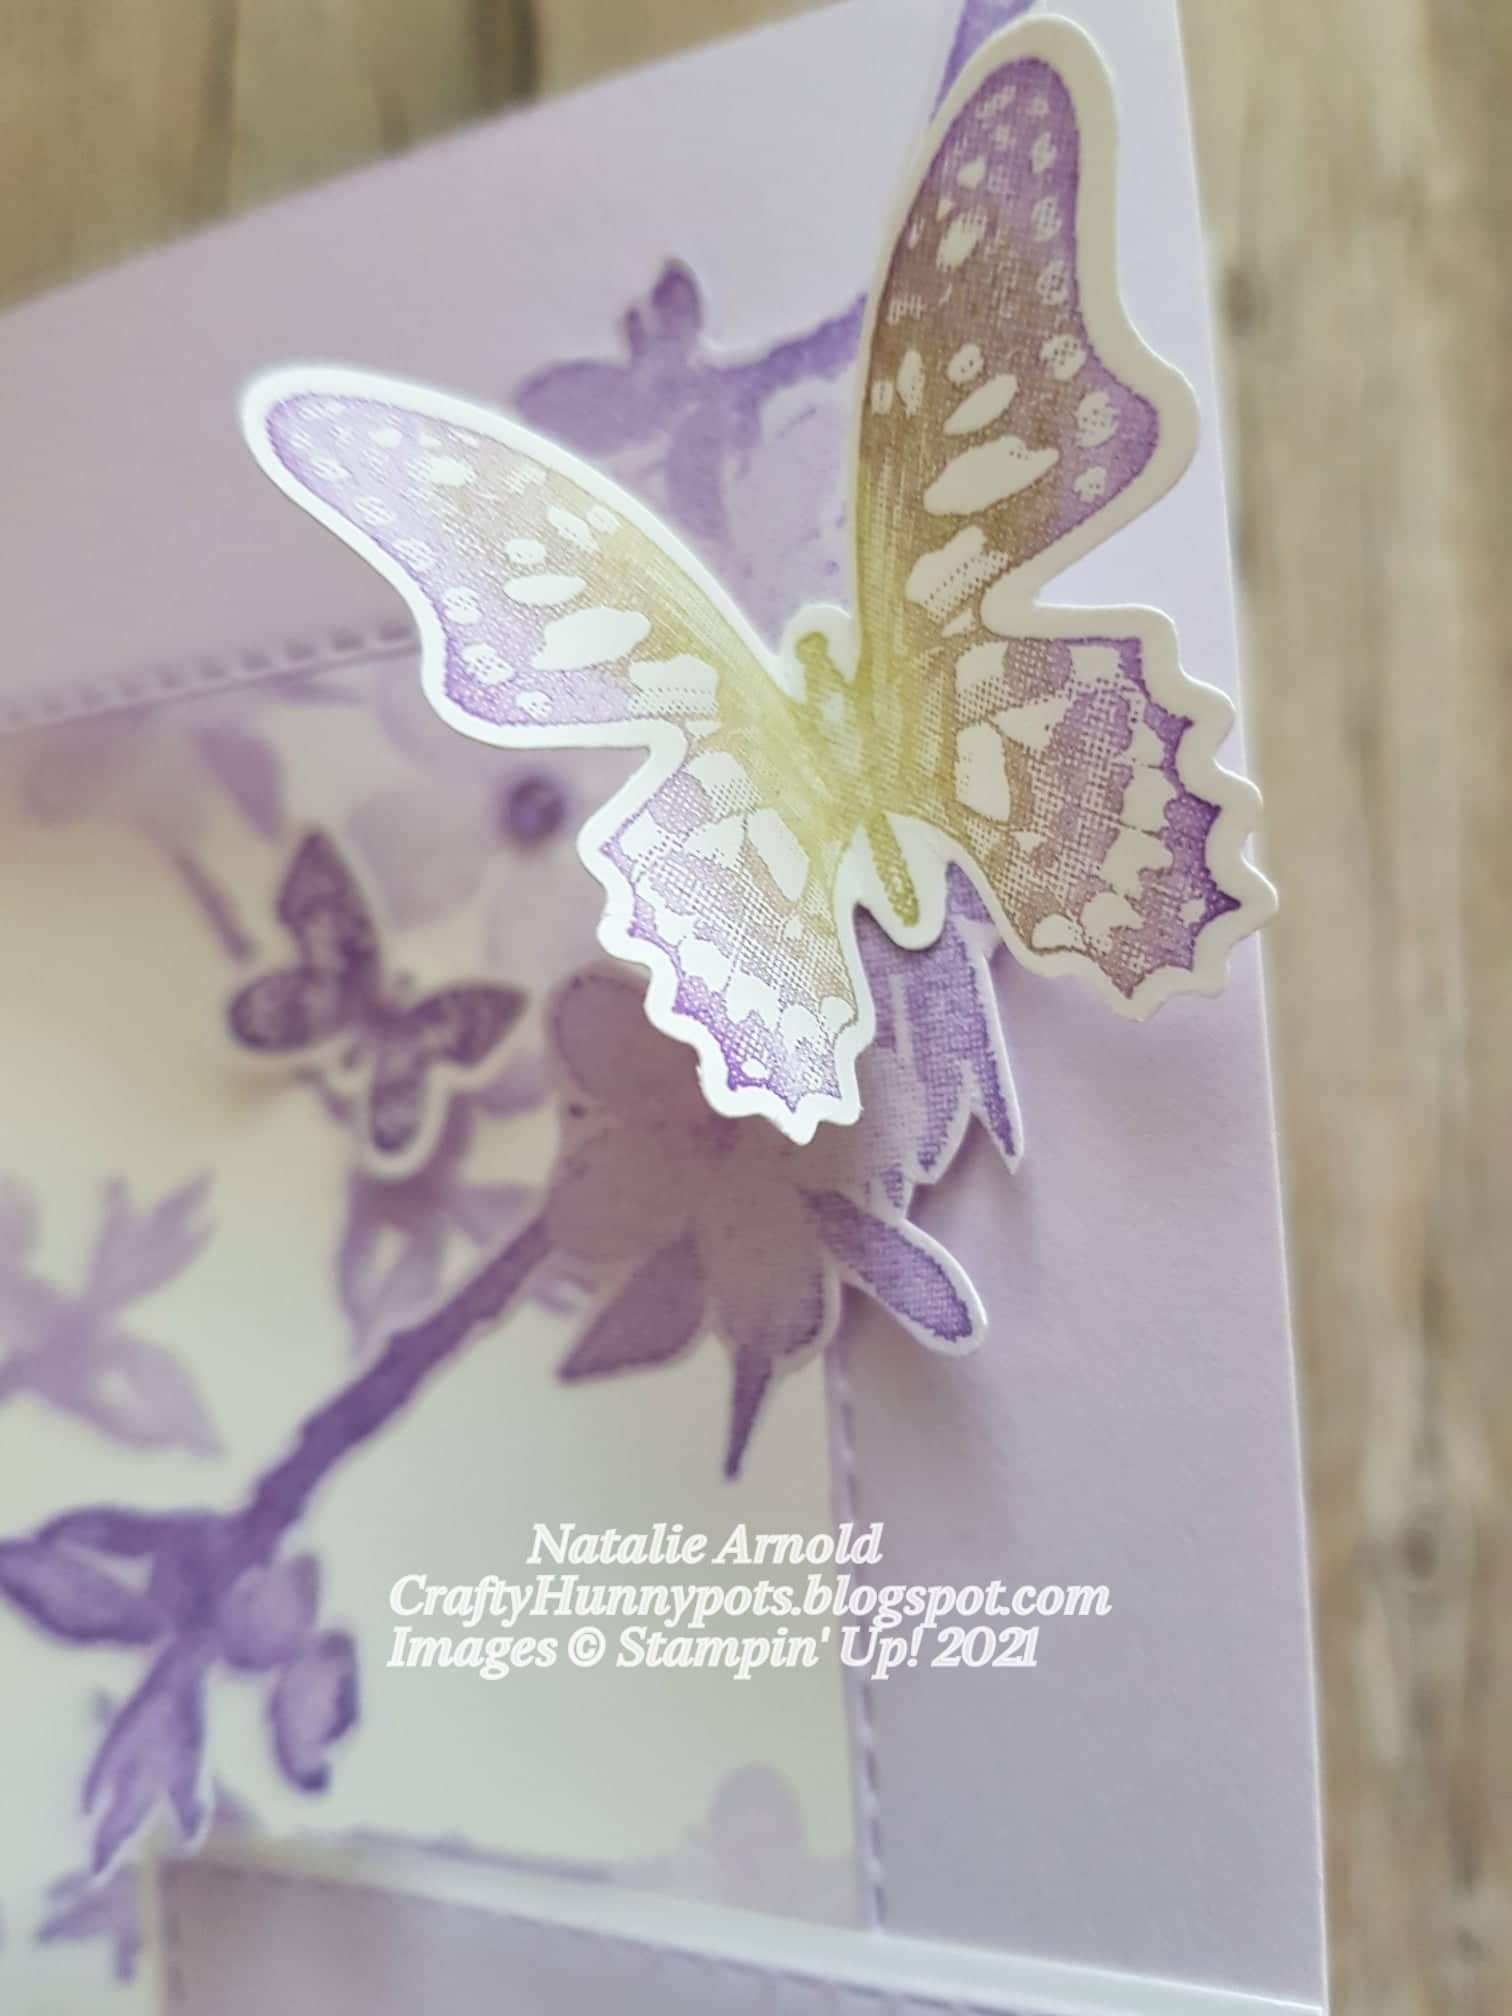
6. Using the daubers , Pear Pizzazz and Gorgeous grape ink (one dauber for each colour), ink the large butterfly up and stamp 3 of them onto the scrap white card and punch them out. Give the wings a slight curve again, glue 2 of them together only glueing the body part, and then glue them to the front of the card.

7. Stamp the sentiment onto the purple posy piece of card using Gorgeous grape ink and die cut it out using the rectangle that measures approx 1 1/8" x 2 1/2". Cut a piece of whisper white card a bit bigger and then glue the purple posy rectangle to the white piece, cut a small section off of the right side and then glue it flat to the right side of the card front.

8. Finally using the dark Highland heather stampin' blend colour 5 rhinestone jewels and then place on the front of the card.
That's the card finished. I loved how it finished up and think it would look lovely in many different colour ways. So why not give it a go and see what you can come up with.
Thanks for popping on to have a look at my blog I really appreciate it. Don't forget to give me your vote!
Until next time take care and happy crafting.
Big Crafty Hugs
Natalie xx
If placing an order with myself and it comes to under £150 please remember to use my Host code and receive a small gift from me the following month. But please don't use the code if it's over the amount as you can claim the rewards yourself and get yourself some free products.
JANUARY HOST CODE
3K2SWYSB
Product List
 |  | |
 |  |  |
 |  | |
 |  |  |
 |  |  |
 |  |  |
")


Gorgeous card Natalie! Thanks for being part of my International Blog Highlights this month and all the best with the voting!
ReplyDeleteMany thanks Kylie love taking part in your monthly challenges thanks for letting me participate x Natalie
DeleteWOW! Natalie, love this card and the colours!!! This is one to save for sure!
ReplyDeleteThankyou so much Rachel loved making it was so much fun x Natalie
DeleteWowzer, Natalie, absolutely gorgeous card, so delicate and what a great design, love it :) good luck with the voting :) x
ReplyDeleteThankyou so much Anne loved putting this one together x Natalie
DeleteAn amazing card, love the delicate colours and design. Good luck
ReplyDeleteThankyou so much Jane I do love the softness of the purple post it gives a really soft look x Natalie
DeleteI fell in love with this card . . . as I always say . . . "I cannot buy everything" soooooo I find the way . . . I have the gala butterflies and I will look for a branch!! Beautiful!!!
ReplyDeleteGlad you liked it Marina thankyou. Great idea to use the butterfly gala like you say can't buy everything and I think it's great to adapt with what we have x Natalie
DeleteWhat a stunning card, Natalie! Absolutely gorgeous! ~ Kim Kroeker
ReplyDeleteMany thanks Kim it was a card I really enjoyed making x
DeleteWho doesn’t love a butterfly! Lovely Natalie
ReplyDeleteThanks Debbie you can't go wrong with a butterfly x
DeleteI’m off to use your card Layout! How inspiring! I love how simply gluing two pieces of card stock makes a card elegant without making it too difficult!thank you for inspiring me
ReplyDeleteYou're so welcome Jeannie so glad it inspired you to go and have a go thankyou for your comment x
Delete