

Hello again everyone, and welcome to yet another craft tuesday. As I said in my blog on saturday I've made another card using the lovely double front fold, but this time instead of using a stampset for the main focal point, I'm using a die cut, and I'm really pleased with how it turned out. So let's begin ...............
Materails needed:
Crumb cake cardstock
1pc - 5 7/8" x 8 1/4" scored on the long side at 4 1/8" for the card base
2pc - 3 1/8" x 3 1/8" for the front and inside square panels
Whisper white cardstock
1pc - 5 3/4" x 8" score on the long side at 4" for the inner card
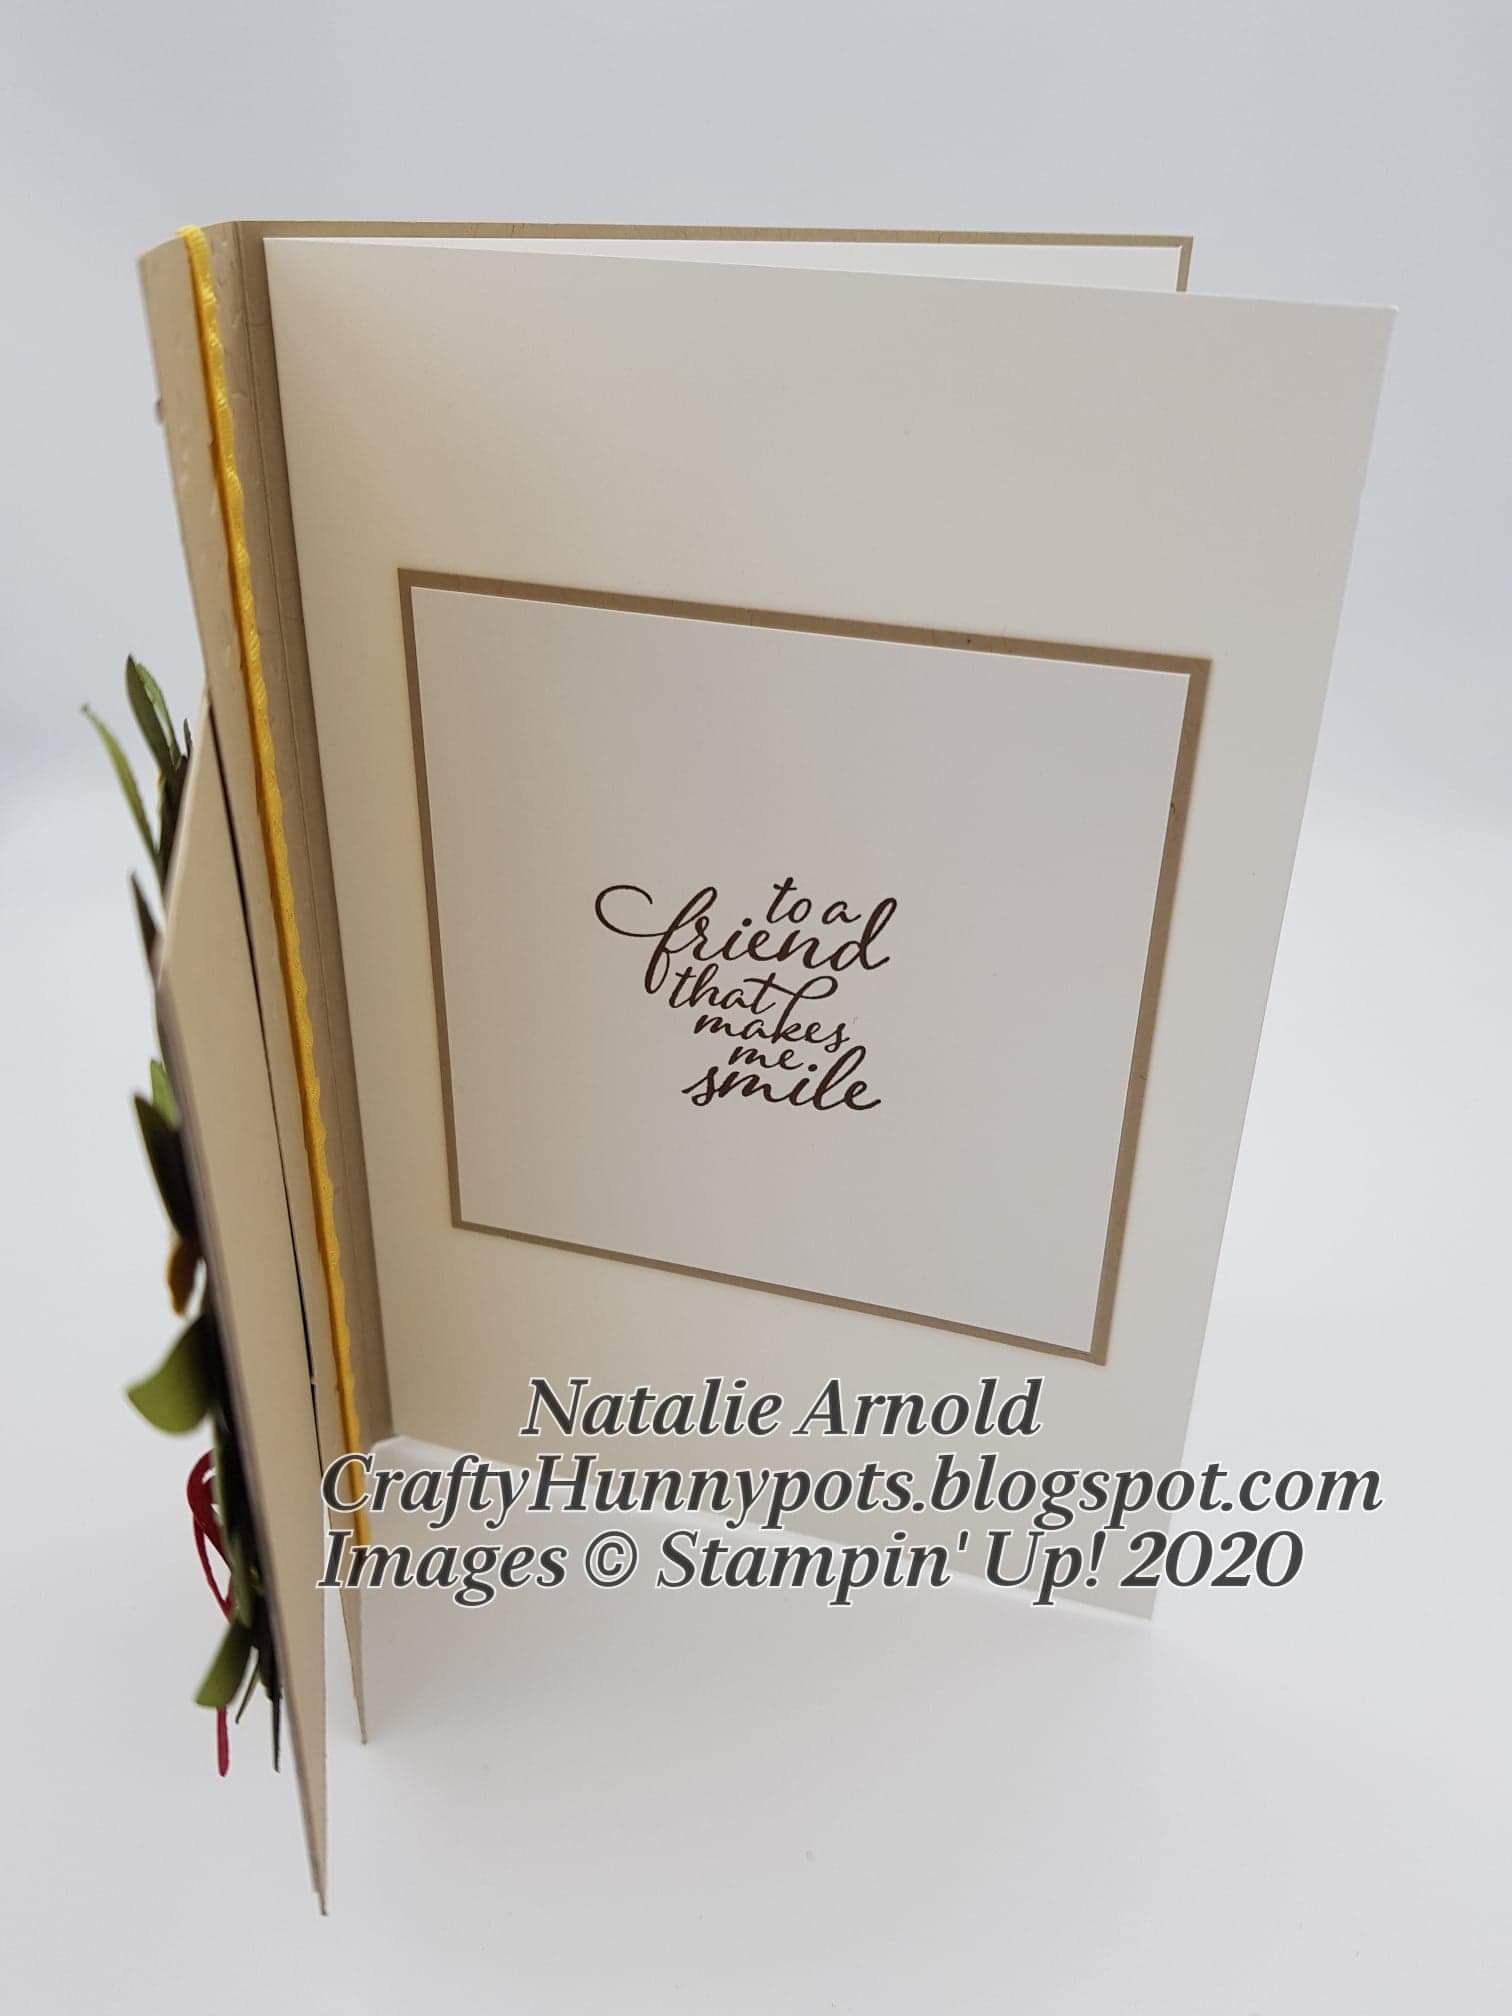
1pc - 3" x 3" for the inside front square layer
1pc - 1/2" x 3 1/4" for the front of card sentiment banner
Daffodil delight ruched ribbon
Approx 9 1/2" for the front of card side panel
In Good Taste DSP
1pc - 3" x 3" for the front of card square panel
Mossy meadow cardstock
1pc - approx 4" x 4" for the die cut wreath
Old Olive cardstock
1pc - approx 4" x 4" for the die cut wreath
Real red cardstock
Scrap piece to die cut the 2 bow pieces
Daffodile delight cardstock
Scrap piece to die cut 5 x flowers
Meadow moments embossing folders - 153126
This I used to emboss the front of card side panel (forgot to add it to the product list)
Pearl basics jewels
5 - for the centres of flowers
Card recipe:
1. Cut, score and burnish the crumb cake base card piece and then cut off 2 1/4" from one side. Emboss the side panel section of the card.


2. Cut, score and burnish the whisper white inner card piece.
3. Cut the 2 crumb cake pieces and the whisper white piece for the front of card and the front of inner card square panels. Cut the piece of dsp, glue this flat to one of the crumb cake pieces. Stamp the sentiment from the forever ferns stampset onto the whisper white square and glue this flat now to the other crumb cake square.
4. Glue the sentiment square panel to the front of the whisper white card and then glue this to the back inside of the card base, leaving an even border all around the edges.
5. Using a glue dot for each end of the ribbon glue it to the front of the embossed side panel piece, wrapping it round from the back.
6. Glue flat the remaining square panel with the dsp glued to it so that it meets the ribbon, making sure that it covers the other square panel that sits underneath it ( only put glue on the section that is going to be glued to the front side panel).
7. Die cut all of the elements and glue them together flat, glue the flowers on where needed and place a basic jewel in the middle of each one. The red bow pieces are glued together flat but using a dimensional to glue to the wreath.
8. Stamp your sentiment on the card piece before the ends are punched using the banners pick a punch, and then glue on to the wreath.
9. Place a few dimensionals on to the back of the inner leaves of the wreath and attach this to the front of card.
And that is the card done.........
Hope you enjoyed making it as much as I enjoyed making it for you.
Thankyou for popping on and looking at my blog I really appreciate it, take care, until next time.
Big Crafty Hugs
Natalie xx
Please remember if placing an on line order with myself and it comes to less than £150 to use my host code so that I can send you a small gift in the post the following month
November Host Code
NW3UKEYE
Product List
 | |
 | |
 |  |
 |  |
 |  |
 | |
 |  |
 |  |
")
 Ruched Ribbon")


No comments:
Post a Comment