

Hello everyone. Thought I'd pop on very quickly and share with you all how I made this rather lovely christmas card. I've made it using a fold that is known as a double front fold and it's so easy to make, I'm sure you'll all have loads of fun making one yourself. On tuesday I shall be sharing another card using this fold but I will be using die cuts instead of stamped images. So let's get on and make a card..........
Materials needed:
Old olive cardstock
1pc - 5 7/8" x 8 1/4" scored on longside at 4 1/8" this is the cardbase
1pc - 3 1/4" x 1 7/8" for the back of the front of card square panel
Whisper white cardstock
1pc - 5 3/4" x 8" scored on longside at 4" this is the inside card
2pc - 3 1/8" x 3 1/8" for the front of card panel and the inside front of card
All the trimmings ribbon combo pack
A length long enough to tie around the front of card and form a bow
Wink of stella glitter brush
This is used to colour over the holly leaves to give a bit of a sparkle
Card recipe:
1. Cut, score and burnish your cardbase. Now cut a piece from the front of the card measuring 2 1/4", you can cut the piece that measures3 1/4" x 1 7/8" from this piece that has been cut off, and set aside until needed.
2. Cut, score and burnish the inside card piece. On the inside of this card you can stamp your holly image - the out line is stamped using 1st generation ink, the in fill stamp is using 3rd generation ink and the berries in fill stamp is using 1st generation. Paint the leaves with the wink of stella to give them sparkle.


3. Cut your 2 whisper white panels for the front and inside front of the card, and stamp the images that are required onto both of them, again paint the leaves using the wink of stella.
This is the front panel
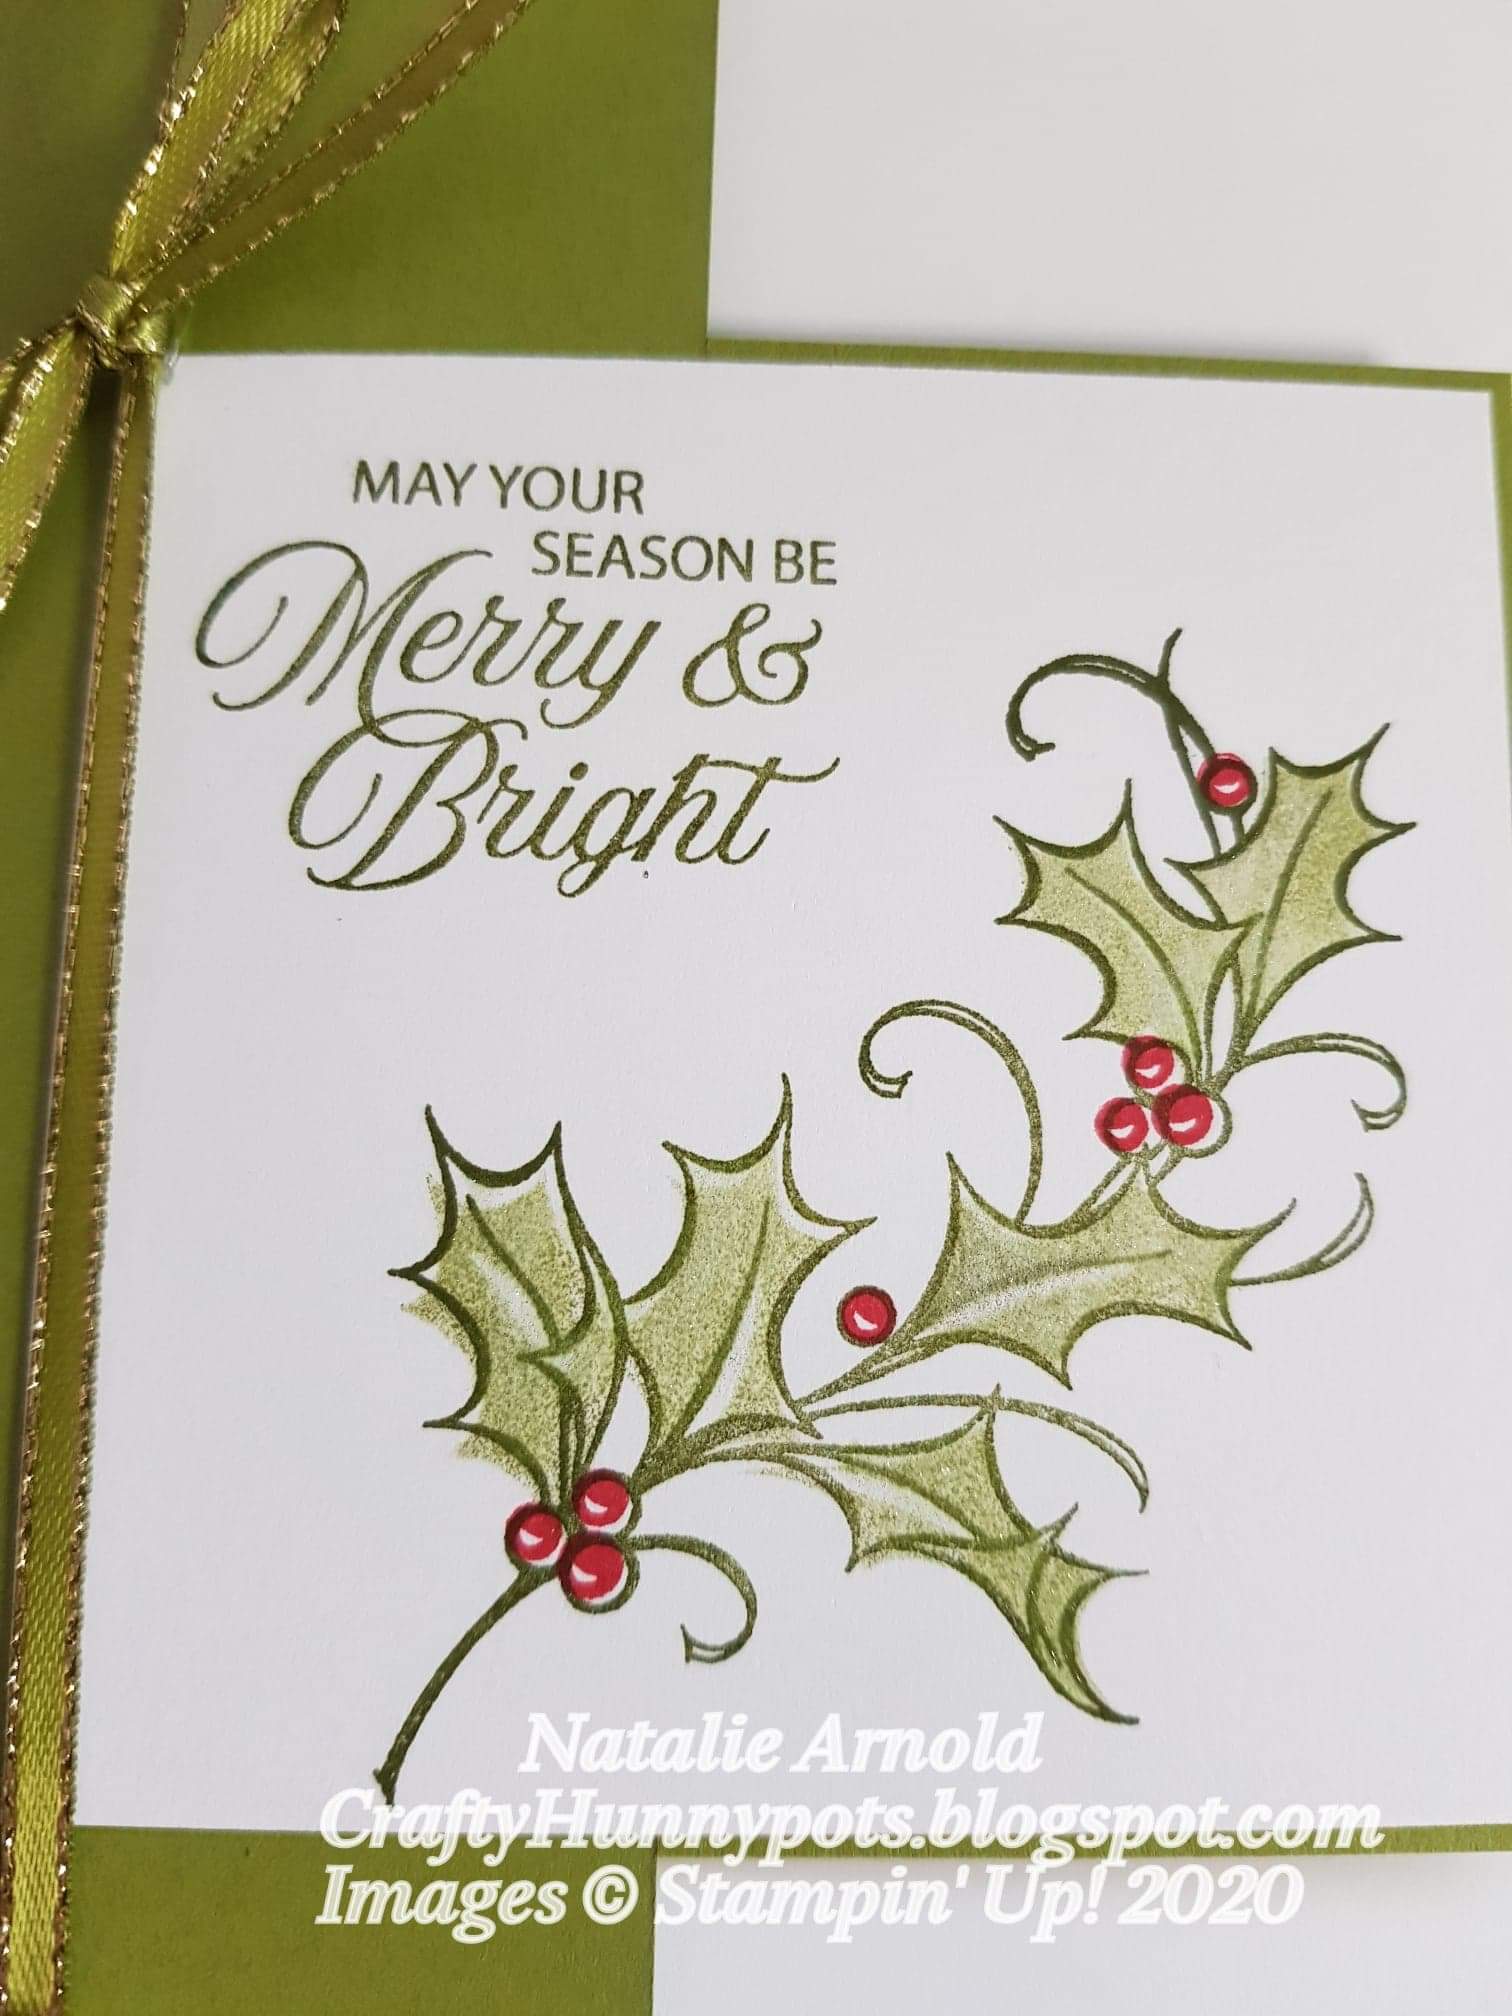
This is the inside front panel

4. Glue flat the stamped image panel for your inside front of card and then glue the inside card to the inner back of the card base, making sure you leave an equal border all around the edges.
5. Now you can see where you need to glue the front of card panel as you can lay it over the top of the inner card, only place glue on to the piece of the card that is sitting on the old olive cardbase front.
6. The old olive piece that is cut and was set aside can now be glued flat to the back of the front panel leaving a small border around the 3 edges.
7. Tie the ribbon around the card and fasten it into a bow and then glue it dpwn using a glue dot.
The card is finished hope you enjoyed making it with me and you liked it as much as I loved making it .
Take care stay safe and carry on crafting.
Big Crafty hugs
Natalie xx
Please remember if placing an on line order for under £150 with myself to use the host code for november and then I can send you a little gift in the post the following month.
November Host code
NW3UKEYE
Product List
 | |
 |  |
 | |
 |  |
 | |
 |  |
 |


No comments:
Post a Comment