About Me

My photo
My name is Natalie and I love anything to do with card/paper. I have been a papercrafter for many years now and I never get bored playing with all the wonderful products available. I've been married to my wonderful husband Nathan for 35years now and we are still very much in love with each other as the first day we met each other. We have 3 wonderful children and 5 gorgeous grandchildren so we have lots to be thankful for. Since joining Stampin' Up! in 2018 I've grown so much in confidence with myself and I even tackle technology, which for me is a huge step to have taken, but I'm getting there slowly.

Tuesday, 1 December 2020

Hello - Pyramid fold card


Hello and welcome to another tuesday craft. Can you believe we are now in the month of December!. I don't know where this year has gone it seems to have literally flown by......

Anyway it's tuesday and I've got another card make for you, which I loved making and it can be made in any size, they can be made smaller and become decorations or larger, you just need to make sure you have an envelope that it will fit into, or make your own of course, and your dsp just needs to always be 1/4" smaller than your cardstock and it will fit.

The size we are making today will fit nicely into a C6 envelope so let's get started.....


Materilas needed:

Pretty Peacock cardstock

3pc - 3" x 3" for the card base squares

Scrap piece for the die cutting of 1 x fern


Just Jade cardstock

Scrap piece for die cutting of 1 x fern


Old Olive cardstock

Scrap piece for die cutting of 1 x leaf die


Brushed metallic cardstock

Scrap piece of the gold for die cutting of 3 x small ferns


Whisper white thick cardstock

1pc - 2 3/4" x 2 3/4" for the inside of card

1pc - 5/8" x 3" for the front of card sentiment banner


Forever fern grennery dsp

2pc - 2 3/4" x 2 3/4" for the 3 sides of the pyramid card


2020 -2022 In colour enamel dots

2 x Just Jade for each side of sentiment banner


3/8" velcro dots

1 pair to keep pyramid closed  - avaiable from Amazon

https://www.amazon.co.uk/dp/B006MIV2S8/ref=cm_sw_r_cp_awdb_imm_t1_WR7WFbBSATDPT


Card recipe:


1. Cut all of your pieces of cardstock and dsp to the sizes required.

2. Score the 3 Pretty peacock squares down the centre from corner to corner like in the picture below, and glue them altogether, making sure you only place wet glue where you need it .


This shows the inside of card.

3. Cut the whisper white and the dsp squares the same way that you scored your other squares and glue them flat to the inside and outside of your card.


This is the outside of card.

This is again is the inside of the card.

4. Adhere the velcro dot into place as seen in the picture above, both sides of it still attached to each other. Peel the backing off and wrap this side of the card over the top of the other side from the outside of card, the card will now be in the pyramid shape, and have all the dsp glued to the outside. There will be 1 piece of dsp leftover as only  3 sides of the pyramid need to be covered.

I've done this sample to show you in a different colour, but this is how the pyramid should look, if the card has folded round to the otherside this doen't matter as it can go either way.

5. All that remains to be done is die cutting all of the different ferns and leaf pieces. Stamp the Hello sentiment onto the middle of the piece of cardstock and then using the Banners pick a punch, punch both ends of the banner. 

6. Give the banner a slight curve and glue it to the front of the pyramind glueing only both of the ends flat, leaving somewhere for you to be able to tuck and glue your fern pieces underneath it. Adhere the enamel dots either end of the sentiment and that is the card finished.

I loved making this card it's such a fun shape and it unfolds and goes flat into the envelope ready to post, but just unfastening the velcro dot.  I made a couple more to show you using different colours and different papers. Hope you like it and make yourself some in different colours too.


Take care until next time stay safe and have fun crafting

Sending Big Crafty hugs to you all

Natalie xx


Please ue this months host code if shopping with me on line and your order is under £150 so that I can send you a little gift in the post the following month

DECEMBER HOST CODE

7R3G4GBG


Product List

Paper Trimmer
[152392]
£23.00


Thursday, 26 November 2020

#SUOC263 and 264 combined and celebrating christmas


Hello everyone and welcome to another SUO challenge, actually this time it's combining two challenges into one. The theme this time is Celebrating Christmas, and I love to make christmas cards it's one of my favourite themes. So without going on any longer let's get started and look at the card I've made for you today.....


I've made a relatively simple card today, as I know like myself you'll probably be quite busy this time of the year preparing for the celebrations and quick cards are what we need at the moment. Those of you that know me will know that I love snowflake cards and therfore I just had to include them on my card.......

Materials needed:


Whisper white thick cardstock - 1 sheet of A4 cut at 4 1/8" on the longside and then scored in half at 5 7/8" for the card base

1pc - 2 5/8" x 5" for the front of card curvy layer


Highland heather cardstock - 1pc 3 1/2" x 5 1/8" for the front of card layer 

Scrap pieces to die cut some snowflakes


Designer series paper - 1pc 3 3/8" x 5 for the front of card layer


Purple Posy cardstock - Scrap pieces to die cut some snowflakes


Blue adhesive backed gems - 5 for the front of card


Highland heather classic stampin'pad - for stamping the sentiment


Card recipe:

1. Cut, score and burnish where needed all of the different pieces of card and dsp.

2. Die cut your piece of whisper white cardstock using the curvy die, making sure that you have it the right way up (die cutting edge to the bottom, pattern to the top). Now emboss the top piece of card with the snowflake embossing folder.

3. Glue the dsp flat onto the highland heather layer leaving an equal border all around the edges. Now glue the die cut piece of whisper white with the pattern in it to the top of the dsp, stamp the sentiment onto the other piece before attaching flat to the bottom of the dsp. Glue this whole piece centrally to the front of the cardbase.

4. Die cut a number of snowflakes from the 2 different purple colours and glue them together, giving them a little curl with your fingers to give the snowflake more dimension.

5. Glue the snowflake to the front of the card and then glue the self adhesive gems to the front making sure you put one in the middle of your snowflake. 

That's the card finished very quick and simple. Hope you liked it. would be great if you left me a comment I really would appreciate it.

Take care stay safe and keep crafting

Big Crafty Hugs

Natalie


If shopping with myself on line during november then please remember to use my host code for that month, this will enable me to send you a small gift in the post the following month.

NOVEMBER HOST CODE

NW3UKEYE


Product List

Paper Trimmer
[152392]
£23.00

Tuesday, 24 November 2020

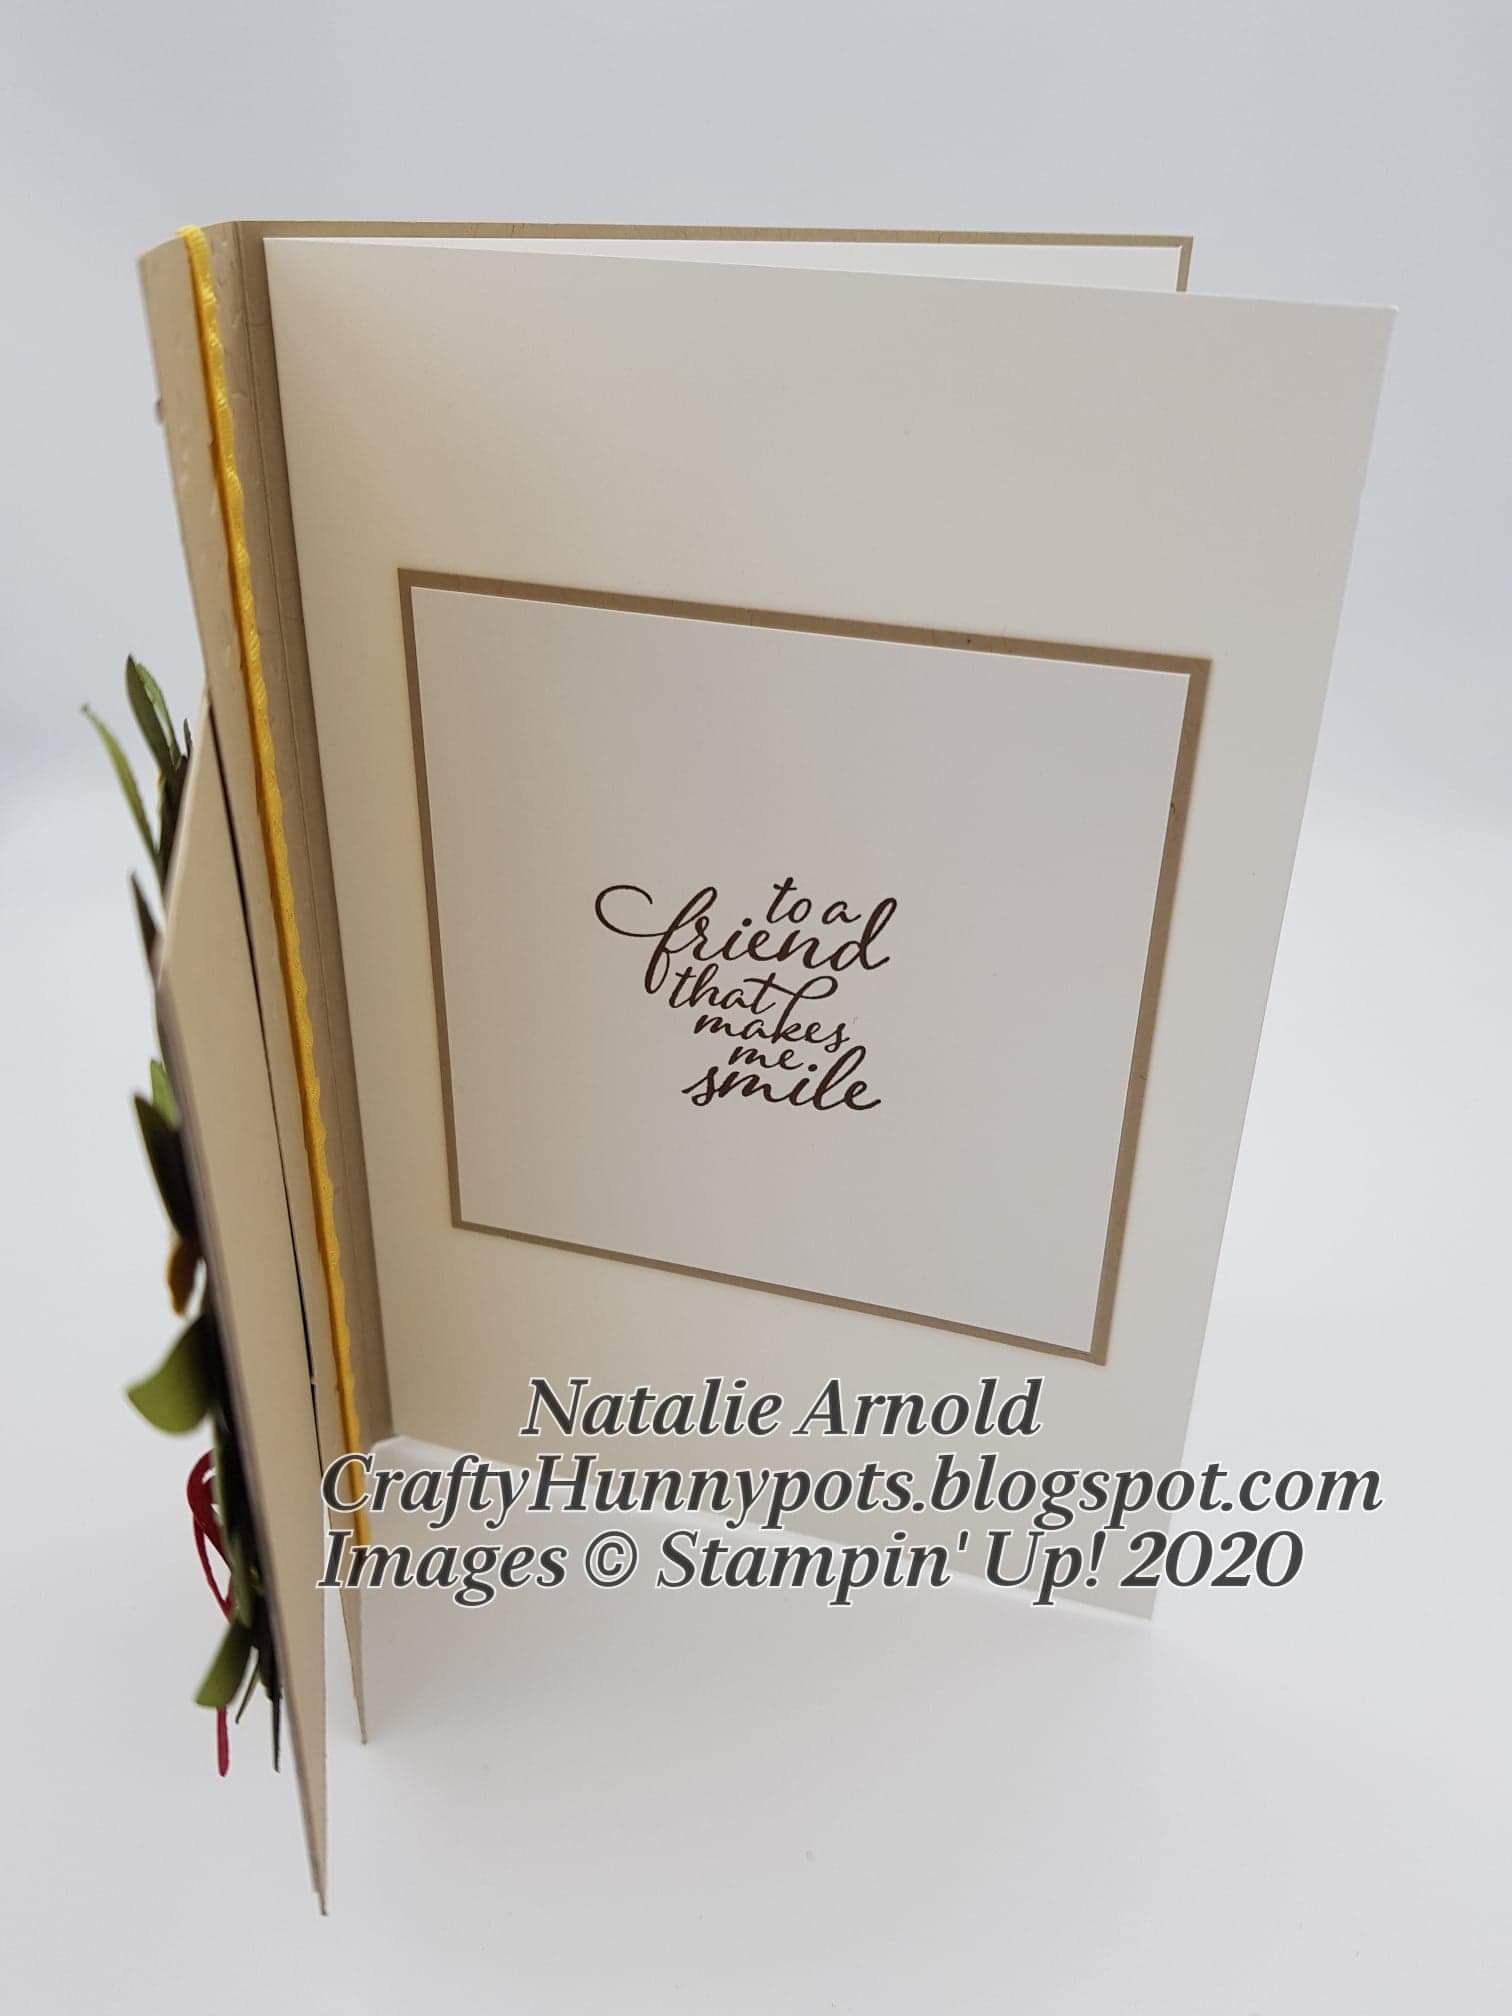
Fun fold - Double front fold card using die cuts


Hello again everyone, and welcome to yet another craft tuesday. As I said in my blog on saturday I've made another card using the lovely double front fold, but this time instead of using a stampset for the main focal point, I'm using a die cut, and I'm really pleased with how it turned out. So let's begin ...............

Materails needed:

Crumb cake cardstock

1pc - 5 7/8" x 8 1/4" scored on the long side at 4 1/8" for the card base

2pc - 3 1/8" x 3 1/8" for the front and inside square panels


Whisper white cardstock

1pc - 5 3/4" x 8" score on the long side at 4" for the inner card

1pc - 3" x 3" for the inside front square layer

1pc - 1/2" x 3 1/4" for the front of card sentiment banner


Daffodil delight ruched ribbon

Approx 9 1/2" for the front of card side panel


In Good Taste DSP

1pc - 3" x 3" for the front of card square panel


Mossy meadow cardstock

1pc - approx  4" x 4" for the die cut wreath


Old Olive cardstock

1pc - approx 4" x 4" for the die cut wreath


Real red cardstock

Scrap piece to die cut the 2 bow pieces


Daffodile delight cardstock

Scrap piece to die cut 5 x flowers


Meadow moments embossing folders - 153126 

This I used to emboss the front of card side panel (forgot to add it to the product list)


Pearl basics jewels

5 - for the centres of flowers


Card recipe:

1. Cut, score and burnish the crumb cake base card piece and then cut off 2 1/4" from one side. Emboss the side panel section of the card.


2. Cut, score and burnish the whisper white inner card piece.

3. Cut the 2 crumb cake pieces and the whisper white piece for the front of card and the front of inner card square panels. Cut the piece of dsp, glue this flat to one of the crumb cake pieces. Stamp the sentiment from the forever ferns stampset onto the whisper white square and glue this flat now to the other crumb cake square.

4. Glue the sentiment square panel to the front of the whisper white card and then glue this to the back inside of the card base, leaving an even border all around the edges.

5. Using a glue dot for each end of the ribbon glue it to the front of the embossed side panel piece, wrapping it round from the back.


6. Glue flat the remaining square panel with the dsp glued to it so that it meets the ribbon, making sure that it covers the other square panel that sits underneath it ( only put glue on the section that is going to be glued to the front side panel).

7. Die cut all of the elements and glue them together flat, glue the flowers on where needed and place a basic jewel in the middle of each one. The red bow pieces are glued together flat but using a dimensional to glue to the wreath.

8. Stamp your sentiment on the card piece before the ends are punched using the banners pick a punch, and then glue on to the wreath.

9. Place a few dimensionals on to the back of the inner leaves of the wreath and attach this to the front of card.

And that is the card done.........

Hope you enjoyed making it as much as I enjoyed making it for you.

Thankyou for popping on and looking at my blog I really appreciate it, take care, until next time.

Big Crafty Hugs

Natalie xx


Please remember if placing an on line order with myself and it comes to less than £150 to use my host code so that I can send you a small gift in the post the following month

November Host Code

NW3UKEYE


Product List

Paper Trimmer
[152392]
£23.00