

Hello everyone and welcome to yet another craft along tuesday. Wow and it's now February already can you believe it..... where did January go!
Today I have a really lovely fold for you, well it's not really a fold more a cut card, and I'm using the 'Berry delightful' designer series paper which comes with a stampset called 'Berry blessings' this is one of the sale a bration items that are available free until the 28th february with a qualifyling spend of £90. For the card I'm making with my ladies I've not used the stampset but I have made a different one using it, whch I will show you at the end. So let's begin with what we will need and hopefully this week I will get the measurements right and not have to go and correct them oooops sorry!
Materials needed:
Poppy parade cardstock
1pc - 5-3/4" x 8-1/4" scored at 4-1/8" for card base
1pc - 1" x 4" for the front banner
1pc - 2-5/8" x 2-5/8" to die cut the circle (which is approx 2-1/2")
Granny apple green cardstock
1pc - 1-1/4" x 5" for the front banner
1pc - 1" x 4" for the inside middle banner
Basic white cardstock
1pc - 3/4" x 3" for the front banner
1pc - 3/4" x 3-3/4" for the inside middle banner
1pc - 2-1/4" x 2-1/4" to die cut the circle (which is approx 2-1/8")
1pc - 2-1/2" x 4" for the inside of card
Berry delightful dsp
1pc - 4" x 5-5/8" for the front of card
Sheet with strawberries on for fussy cutting
Card Recipe:
1. Fold and burnish your card base. Glue the dsp to the front of it and leave to dry, once dry cut each side of the front panel, from each side at 1-1/2" (from the score line right to the bottom) this will leave the card front having 3 sections.


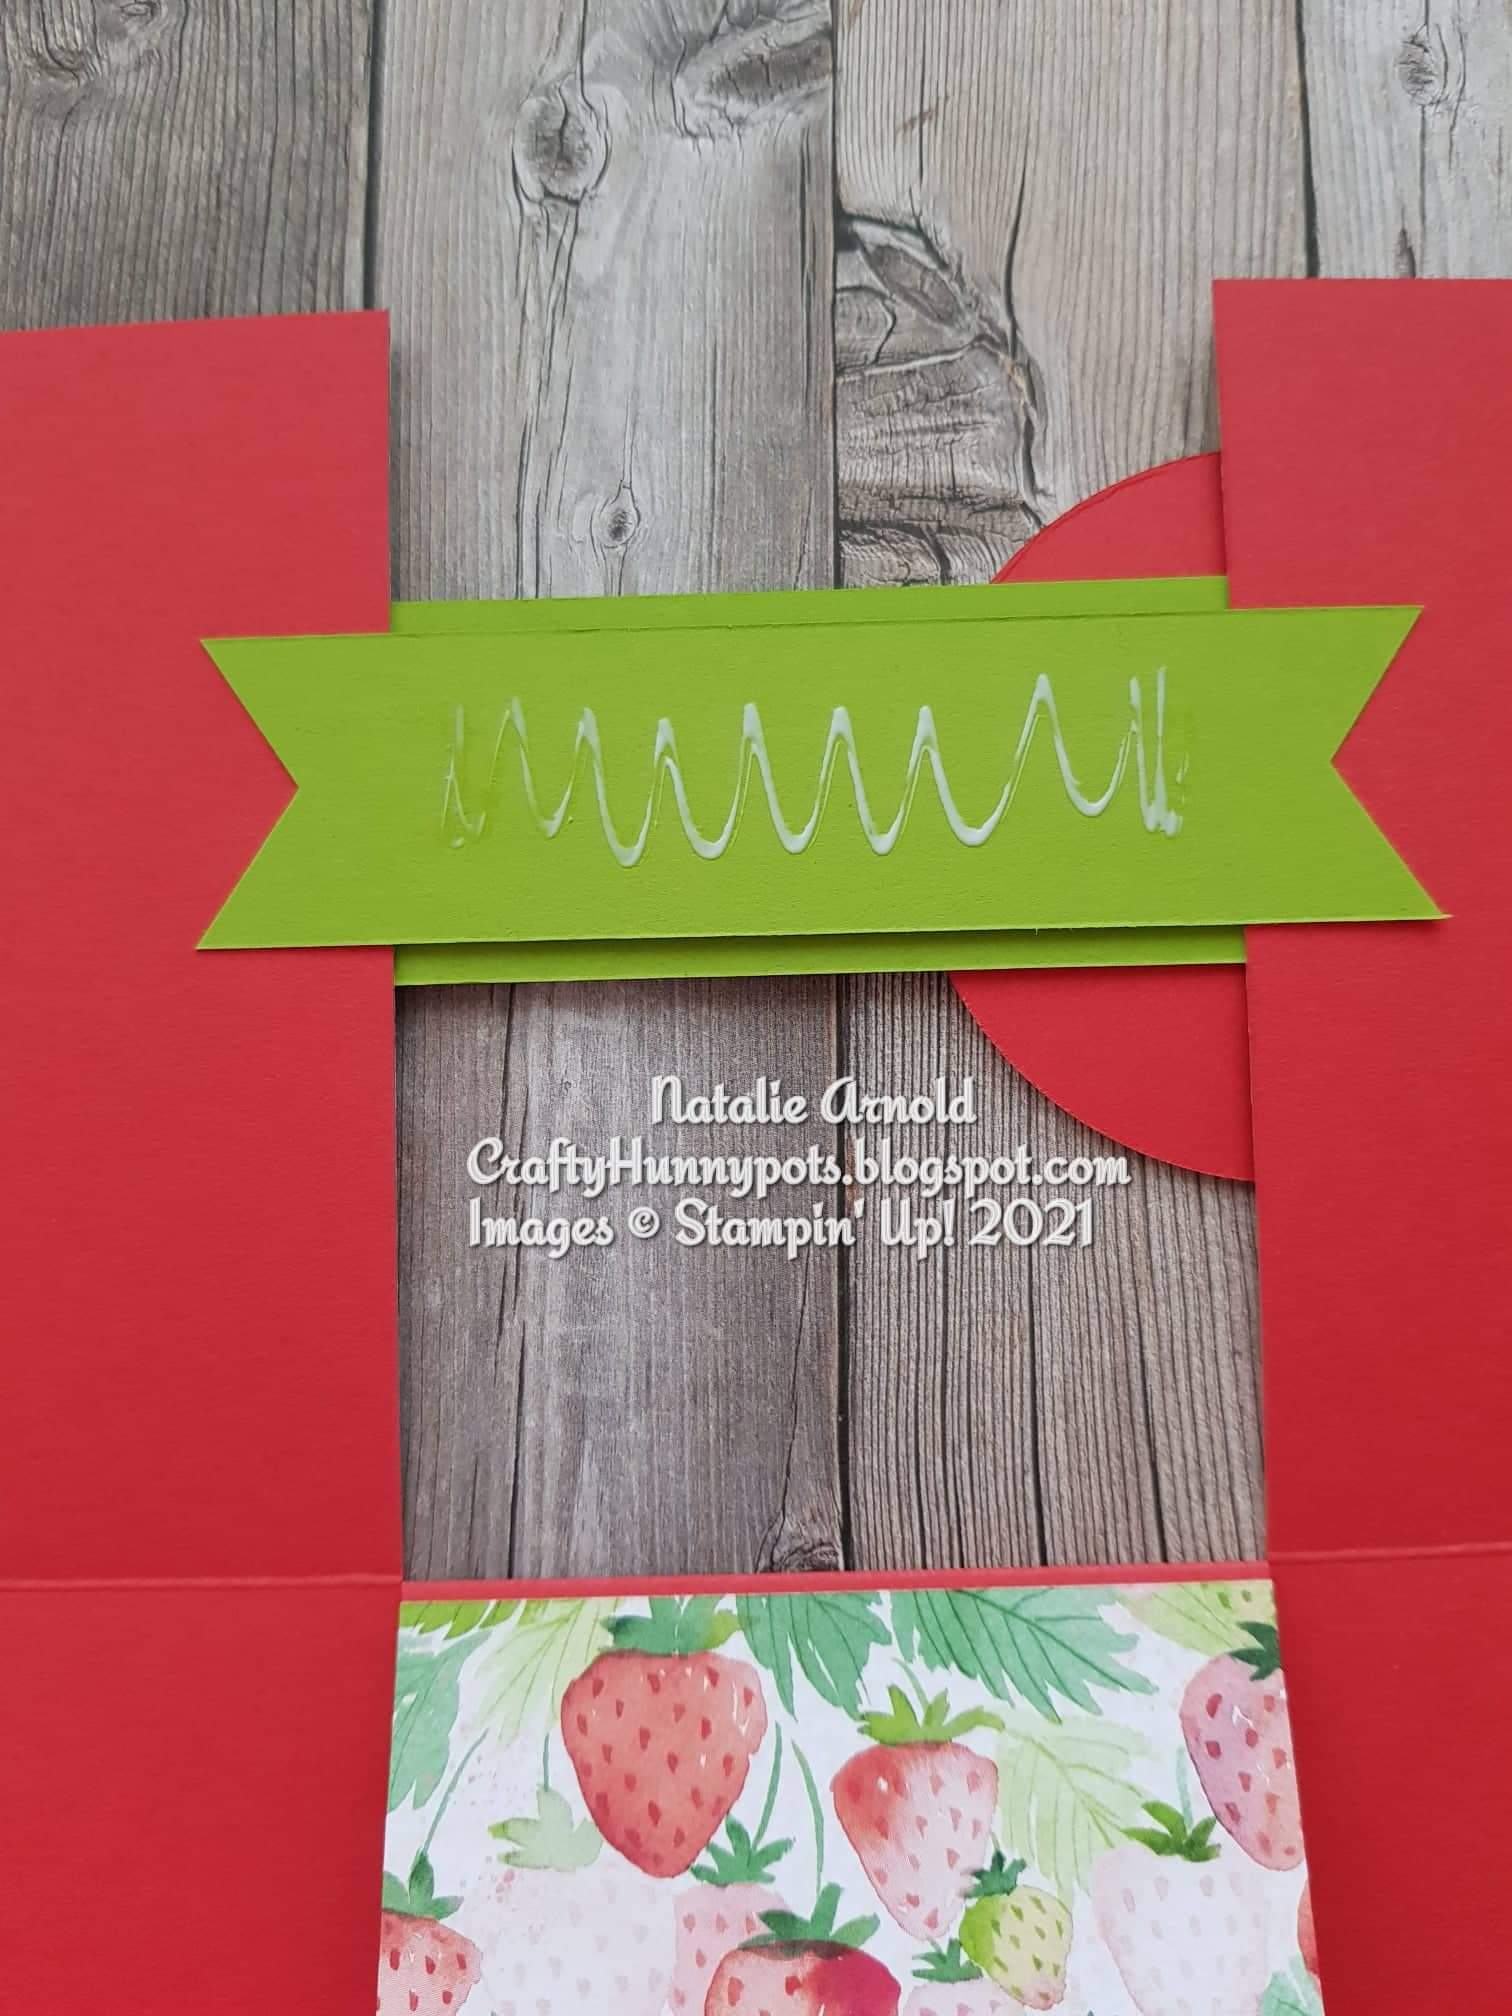
2. Now having cut, die cut and punched all of the pieces that are needed for the card start glueing them into place. Fold the middle section of the front so it's tucked up inside the card, like below, glue the green banner into place.


Hope you enjoyed todays project although it was a bit long drawn it is actually a very quick and easy card to make so I hope you give it a go. Stay safe everyone until next time.... Keep crafting!!!
Huge Crafty Hugs
Natalie xx
February host code - Y6P2CXDV
Please as always use my host code if placing an on line order with myself and it comes to under £150 to receive a small thankyou gift from me the following month in the post but don't use it if your order is over as you can claim the rewards yourself.
Remember through till the 28th february 2021 the Sale a Bration is happening and for every spend of £45 or £90 you qualify to receive a product from the Sale a Bration brochure for free!
Product List
 | ||
 | ||
 |  |  |
 |  |  |
 |  |  |
 |  |
")


Beautiful bright summery card....something to look forward too.
ReplyDeleteAwww thanks Debbie hope you enjoy making it .... yes definitely something to look forward to x
Delete