About Me

My photo
My name is Natalie and I love anything to do with card/paper. I have been a papercrafter for many years now and I never get bored playing with all the wonderful products available. I've been married to my wonderful husband Nathan for 35years now and we are still very much in love with each other as the first day we met each other. We have 3 wonderful children and 5 gorgeous grandchildren so we have lots to be thankful for. Since joining Stampin' Up! in 2018 I've grown so much in confidence with myself and I even tackle technology, which for me is a huge step to have taken, but I'm getting there slowly.

Tuesday 8 December 2020

Sweet treat gift box


Hello everyone and welcome to another Tuesday Crafting. As it draws nearer and nearer to the big day, I thought it would be nice to share a cute little treat box that I've made with dividers inside to seperate those lovely sweets, that we all love at christmas. So let's begin and see how simple these little boxes are to make.

Materials needed:

Box lid - Card measuring 5 1/16" x 6 9/16" scored on all 4 sides at 1" (Old Olive is what I've used for mine)

Box base - Card measuring 6 1/2" x 8" scored on all 4 sides at 1 3/4" (Real Red is what I've used for mine)

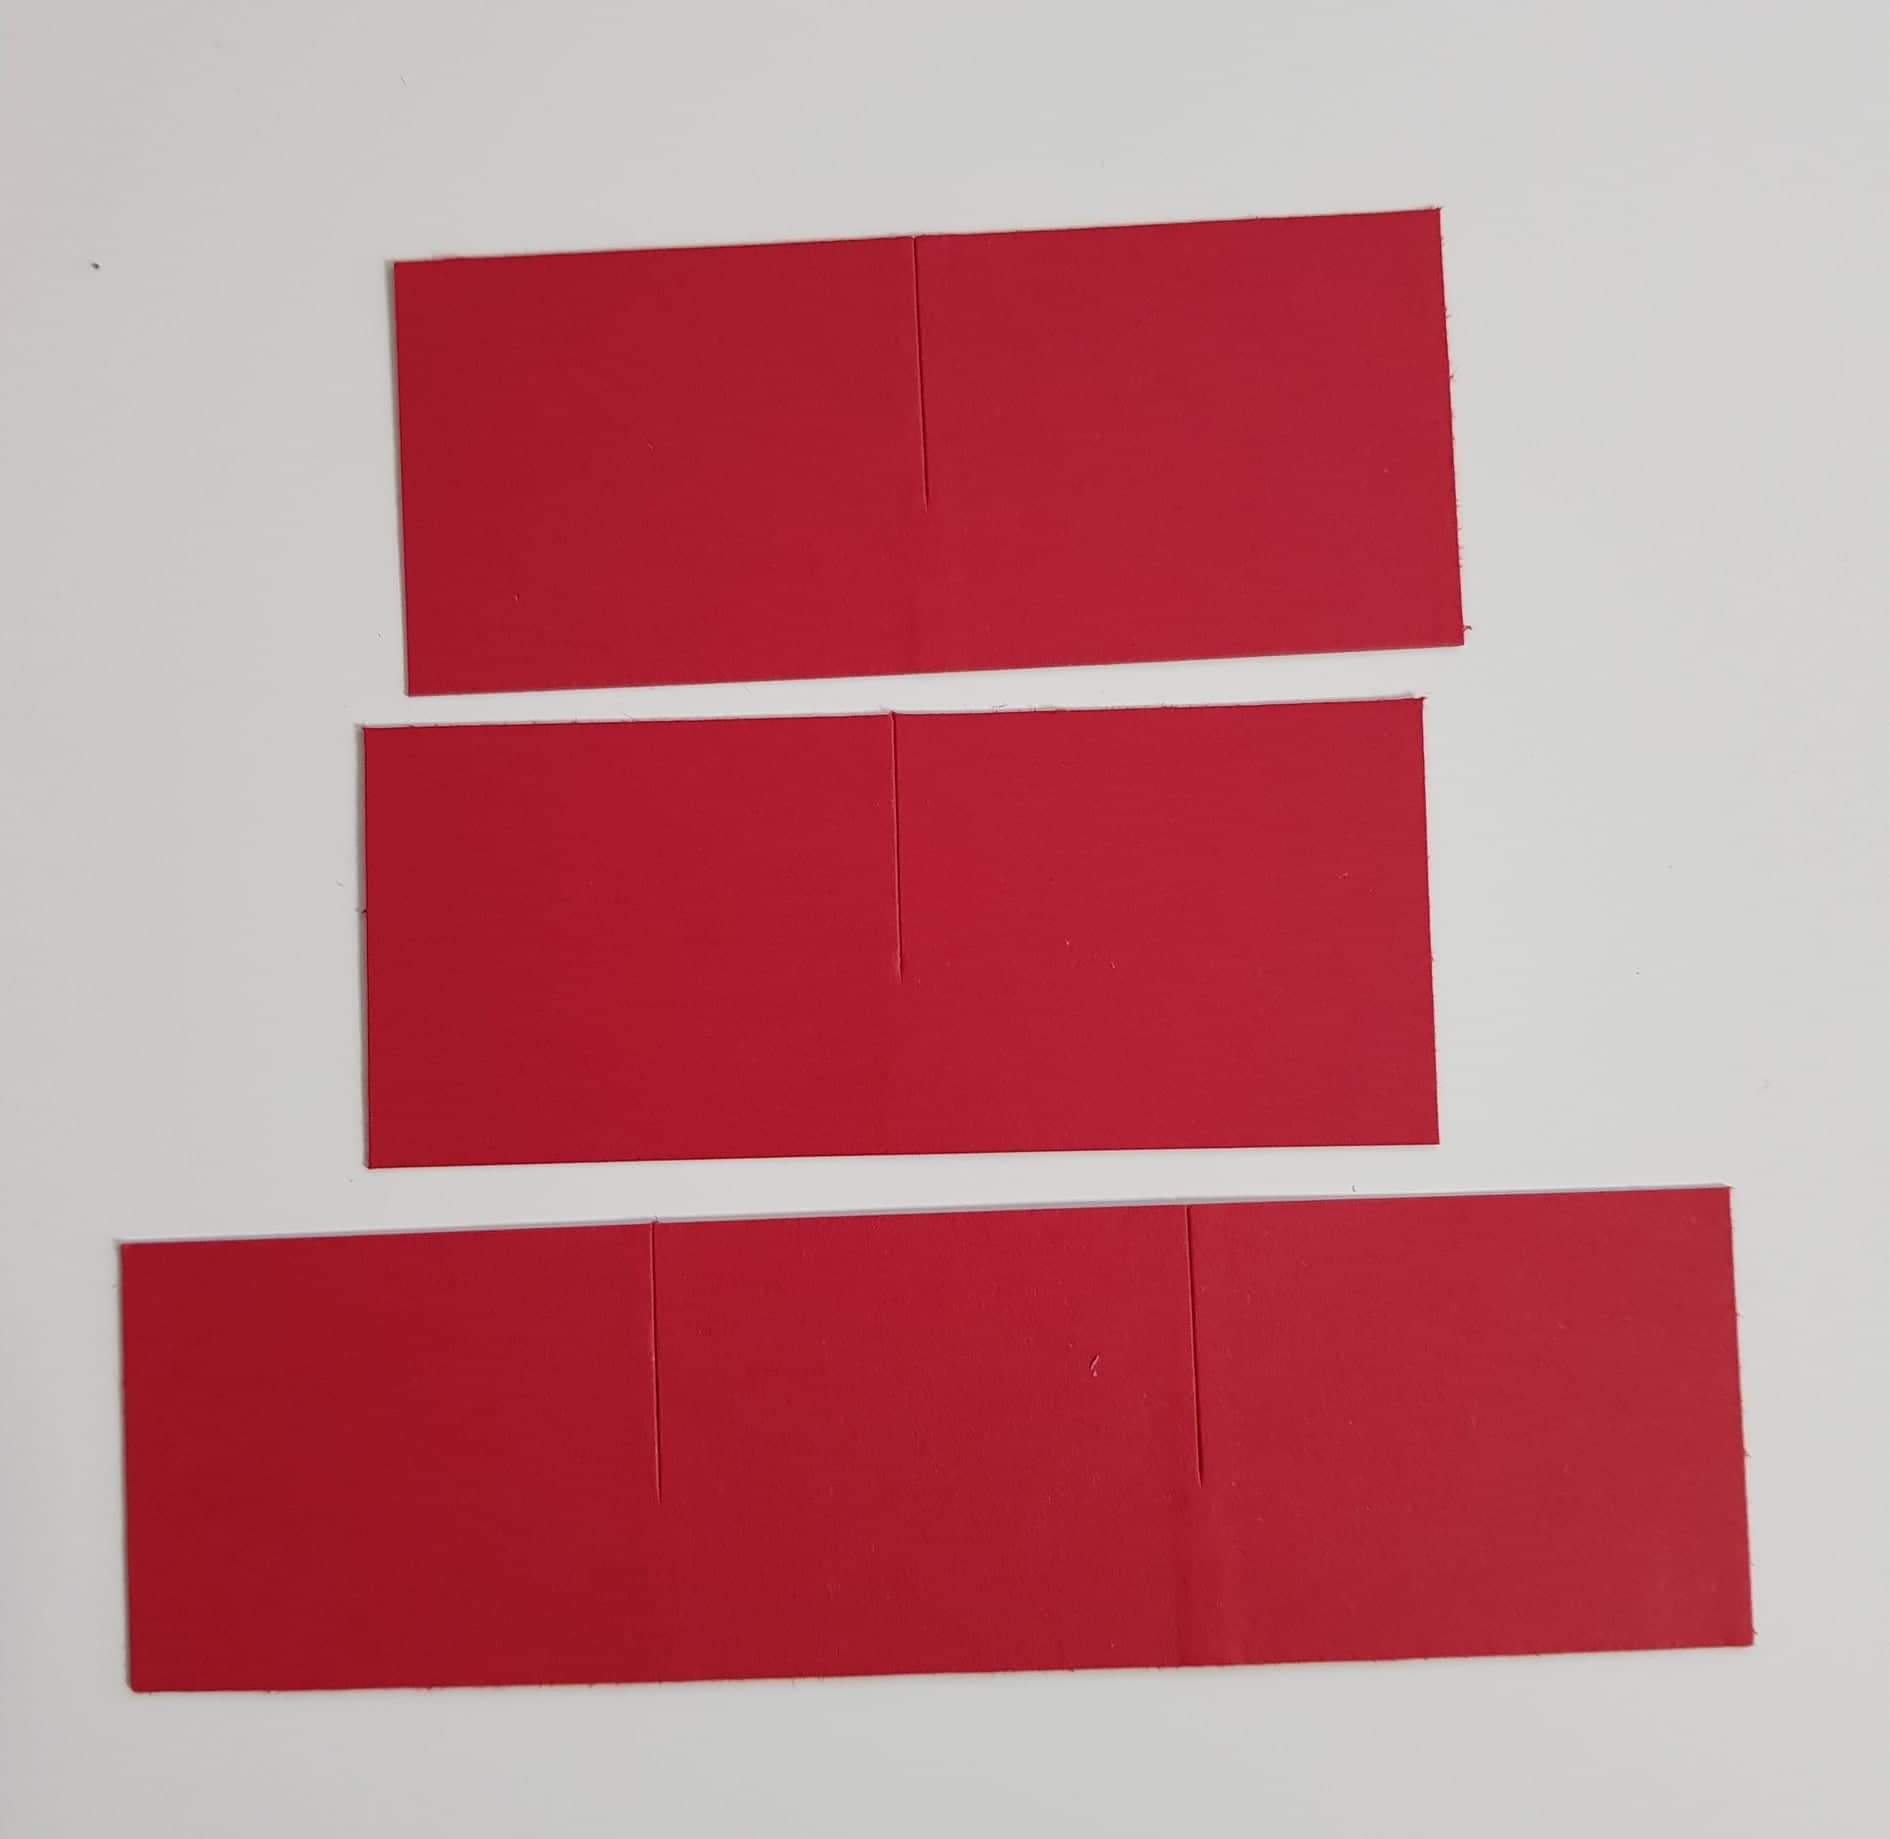
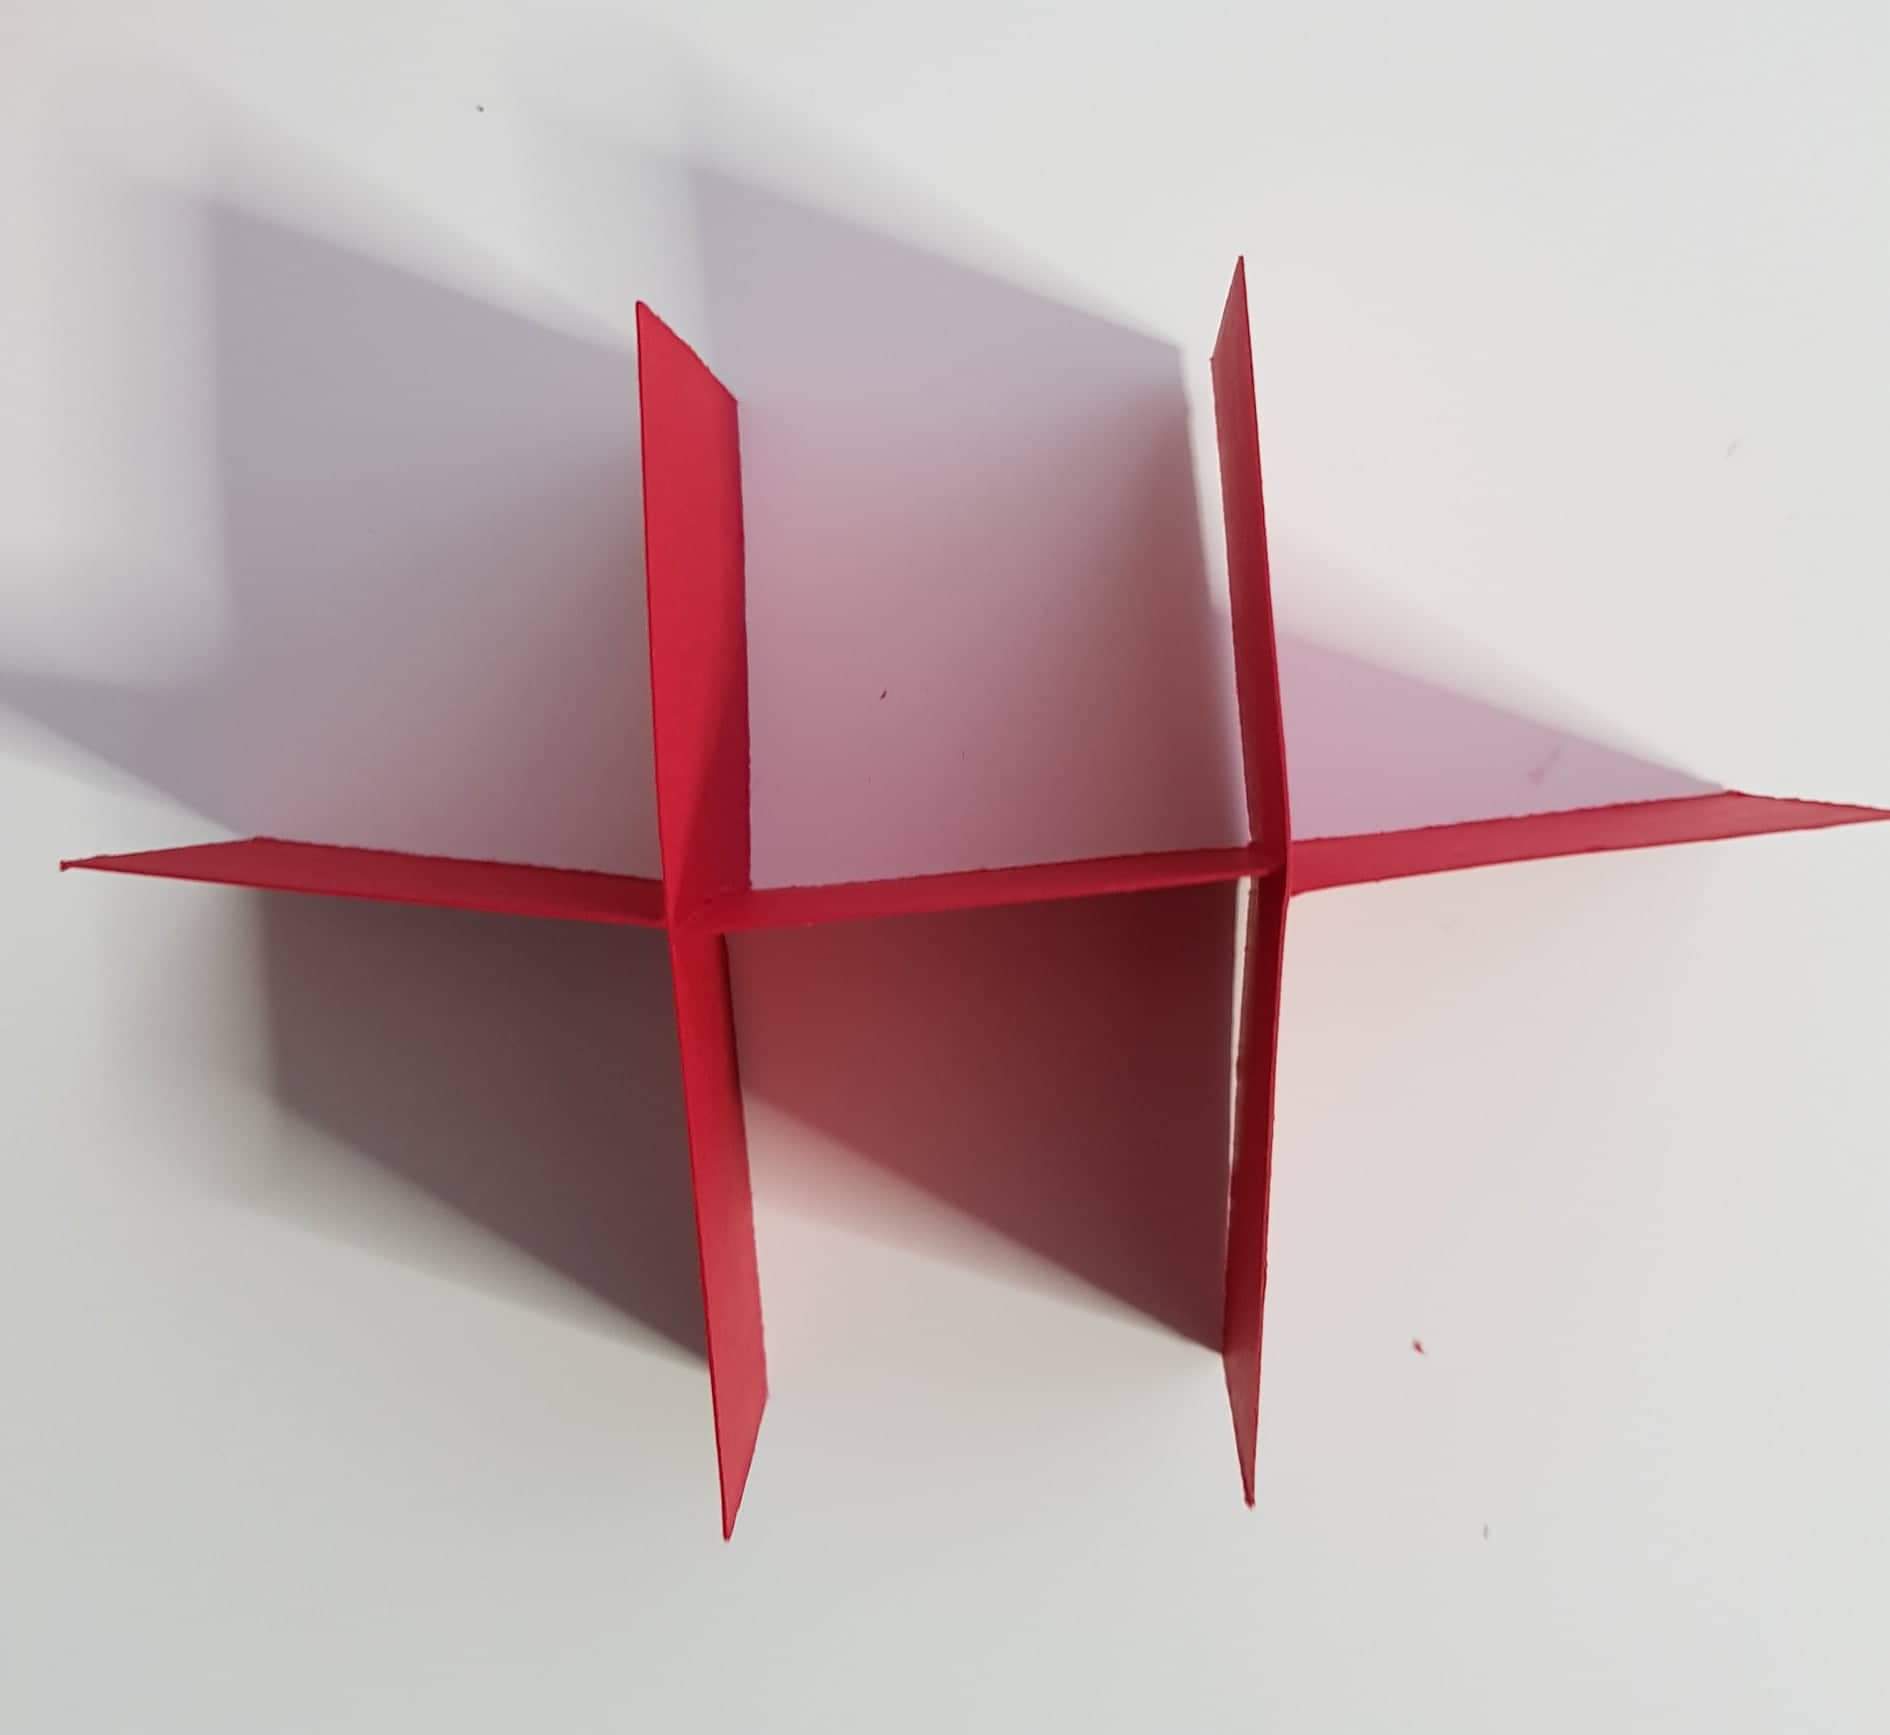
Box divider pieces - 1pc of card measuring 1 1/4" x 4 1/2" and on the longside you need to cut at 1 1/2" and 3" but only into the middle/ half way (Real red is what I used)

2pc - 1 1/4" x 3" and on the longside you need to cut at 1 1/2" on both pieces but only into the middle/ half way ( Real red is what I used)

Top of lid layer - 2 3/4" x 4 5/16" embossed using embossing folder

Tis' the season dsp - 2pc 15/16" x 3 for the short sides of box lid sides

2pc 15/16" x 4 1/2" for the long sides of box lid sides


Gold thread - approx 7" for the tags 

Ribbon - approx 27"  for tying around the box

2 Scrap pieces of cardstock for the die cutting of 2 tags

Box recipe:

1. Cut, score and burnish (where necessary) all of your card and dsp pieces.

Both the box base and the lid are cut the same way as below, only cutinng to the score line on each side.


2. Now put wet glue on all 4 side tabs and glue the corners together so they are nice and square, by tucking the tabs inside the box base.

Both the box base and the lid pieces are glued the same way.


3. Now you need to assemble the inside dividers, and you do this by just having cut all the pieces where instructed to the middle/half way and then interlocking them into each other, like below, linking the cut lines together.


This piece should now just slide into place inside the box base.

4. Emboss the layer of card for the top of the box lid and glue flat into place.

5. Glue all of the dsp pieces into place and then tie the ribbon around the whole box (place your sweets of choice inside first).

6. Die cut your 2 tags, stamp a sentiment onto the whte one, I've used the 'To and From' that is within the  Wishes and Wonder stampset, and I've used Real red ink.

7. Attach the gold thread to the tags and then tie them onto the box by tying them onto the ribbon.

That's the box complete, ready to give to someone special for chrtistmas. Very quick and simpe box but very cute way of gifting a little something to someone.
Hope you enjoyed this project and you give it a go.
Till next time take care everyone, stay safe and keep crafting.

Please remember if shopping with myself to use the host code for december if your order is under £150 and then I can send you a small gift in the post next month.

December Host Code
7R3G4GBG


Don't miss out on the year end closeout which has items that are no longer going to be available after 4 January or until supplies run out, from the August - December 2020 mini catalogue. Pop over to my online shop and check there are no items that you really would like to have. Also there have been lots of items added to the clearance rack which you definitely don't want to miss out on.


Product List
Paper Trimmer
[152392]
£23.00


2 comments:

  1. Very cute box, always useful to have a treat box on hand :) great instructions :) many thanks for sharing :) x

    ReplyDelete