About Me

My photo
My name is Natalie and I love anything to do with card/paper. I have been a papercrafter for many years now and I never get bored playing with all the wonderful products available. I've been married to my wonderful husband Nathan for 35years now and we are still very much in love with each other as the first day we met each other. We have 3 wonderful children and 5 gorgeous grandchildren so we have lots to be thankful for. Since joining Stampin' Up! in 2018 I've grown so much in confidence with myself and I even tackle technology, which for me is a huge step to have taken, but I'm getting there slowly.

Monday, 7 September 2020

SUOC 257 - Peace and Joy using Die cutting


 Hello everyone it's time again for another SUO challenge and this time the challenge was to use Die cutting and/or punches. I've chosen to use die cutting as my choice of what to use, and the bundle that I've used today 'Peace and Joy' is a beautiful set and it's so easy to acheive wonderful cards/projects with it so let's start with the card I've made for you today.


I've made a shaker card using the cut out of the word Bright as the window shaker piece. Hope you enjoy the project.


Materials needed:


Whisper white thick cardstock

1pc - 5 1/2" x 11" scored on longside at 5 1/2" this is your card base

1 scrap piece to stamp and cut out your 3 word sentiments for front of card


Mossy meadow cardstock

1pc - 5 3/8" x 5 3/8" for the front of card layer

1pc - 5 5/16" x 5 5/16" for the inside of your card layer

1pc - approx 1 1/2"x 4" for the die cut word 'Bright'

1pc - approx 3" x 5" to glue on the back of the shaker part

Scrap piece to stamp and cut out holly leaves


Whisper white cardstock

1pc - 5 1/4" x 5 1/4" for glueing onto reverse side of your DSP

1pc - 5" x 5" for the inside of your card


Pear Pizzaz cardstock

1pc - approx 1 1/2" x 4" for the die cut shadow word 'Bright'


Real red cardstock

Scrap piece to stamp and cut out holly berries


Window sheets

1pc - approx 2 1/2" x 4 1/2" for the window shaker 


Real red sheer ribbon

1pc - approx  20" for the ribbon and wrap around on the front of card


Wonderful gems

3 - for the front of the card


Foam adhesive sheets

6pc - 1/2" wide by the length as it comes


Card recipe:

1. Cut, score and burnish your card base

2. Cut all the layers for the front and inside of your card. Glue the whisper white layer to the revese of your DSP piece, leave this to dry. Glue the 2 mossy meadow pieces to the outside and inside of your card. Stamp 3 starburst images using real red stampin' pad, into one corner of your whisper white piece thats for the inside of card and then glue it into place.


3. Die cut your shadow die word onto the front of your DSP/card piece as in picture below.

4. Now glue your piece of the window sheet to the reverse of the apperture as below. Attach your ribbon around your card now, leaving enough ribbon to tie a bow onto the front of the ribbon later on.

5. Now place your adhesive sheet strips onto this piece of card as shown below.

6. Place some of your snowflake sequins into the middle of the window, and now peel the backings off of just the pieces of foam adhesive that are around the window including the 2 long top and bottom pieces, now you can carefully place the piece of mossy meadow cardstock on top of the sticky foam pieces, incapsulating all of the snowflakes within.


7. Now peel the backing off of the rest of the foam adhesives strips and place wet glue on to the piece of mossy meadow cardstock and then glue this into place on the front of your card. Now die cut your 2 'Bright' pieces from the mossy meadow and pear pizzaz pieces of cardstock and carefully apply wet glue to the reverse side of the thinner one and glue the two together. These are glued onto your window piece of your shaker using small pieces of dimensionals.
(I've used different colours for these but you can see what you need cut out)


8. Tie a bow attaching it to the front of your card using glue dots to keep in place.
9. Using the same colour stampin' pads as the cardstock stamp and fussy cut all of your holly leaves and berries. Glue into place.
10. Stamp your 3 words in real red and then fussy cut them out and glue into place . Glue 3 x gems into place and that's your card finished.


Thanks so much for stopping by and looking at my blog I really appreciate it. If you have any questions or you'd like to know how to join my team in Stampin' Up! please don't hesitate to contact me I'd love for you to experience the joy of stamping as much as I do.
Till next time take care
Big Crafty Hugs 
Natalie xx


Products used for this project:


Mossy Meadow cardstock 133683

Whisper white cardstock 106549

Heartwarming hugs DSP 153492

Real red cardstock 106578

Real red classic stampin' pad 147084

Mossy meadow classic stampin' pad 147111

Window sheets 142314

Multi purpose adhesive glue 154974

Wonderful gems 153536

Snowflake sequins 150443

Foam adhesive sheets 152815

Tear n' tape adhesive 138995

Glue dots 103683

Real red 3/8" sheer ribbon 153535

Mini stampin' dimensionals 144108


SEPTEMBER host code for on line orders under £150

XXP6U9QZ


Tuesday, 25 August 2020

Sweetest time Christmas card


Hello again everyone I've been a bit abscent lately as it was my birhtday last week and also my husbands and we have been busy re designing our garden, not leaving me much time to concentrate on my crafting. Hubby is back to work today so I'm hoping to get back into the swing of things again yayyyyyy............ I do love my crafting and I miss it when I don't have time to get anything done..............

I've made a card using the really lovely 'Sweetest time' bundle which is great for cutting borders down the sides of your cards. So let's get started...... hope you enjoy.

Materials needed:


Whisper white thick cardstock

1pc - 6" x 8 1/4" score on the longside at 4 1/8" this is your card base
(I know your probably thinking why 6" well it's because I wanted to fit all of the die cut border in without any of it getting chopped off, your card will still fit into the Stampin' Up! C6 envelopes).

1pc - 15/16" x 3 1/4" for the sentiment 

Scrap piece for stamping and die cutting 3 x berries


Real red cardstock

1pc - 6" x 4 1/8" to die cut your border along both long edges for the front of card

Scrap piece to die cut 2 extra candy canes and circle sweets to add depth to your card

1pc - 3 7/8" x 5 3/4" for the inside of card


Shaded spruce cardstock

Scrap pieces to die cut 6 small leaves and 3 large leaves


Pear pizzazz cardstock

1pc - 1" x 3 3/4" for the sentiment

Scrap piece to die cut 3 x ferns


Real red sheer ribbon for tying 3 bows


Wonderful gems

2 x red/gold and 3 x clear/gold for front of card


Card recipe:


1. Cut, score and burnish your card base.
2. Cut both of your pieces of real red for the front and inside of your card, glue the inside piece into your card.
3. Die cut both edges of your front of card piece of real red card as in the picture below.


4. Glue this piece flat to the front of your card base now using wet glue.
5. Die cut the 2 x candy canes and 2 x circle sweets, give them a slight curl using a round pencil or something and glue them into place onto the front of your card, they go on either side of your card.


6. Die cut all of your leaves and ferns, stamp and die cut your berries using real red ink and then use wet glue to glue them into place on the front of your card.
7. Cut your pieces for the sentiment and give them both a slight angle at either end, stamp your sentiment using garden green ink and then give the piece with the sentiment stamped on a slight curl so you just need to place wet glue onto either end of your card piece, attach it to the green piece and this gives the senitment a bit of depth. Attach this whole piece flat with wet glue onto the front of your card.
8. Tie yourself 3 x bows with the ribbon and then glue these into place onto the candy sticks using mini glue dots. (you can if you prefer just tie 3 x knots instead).
9. Now place your gems into place on your card (I placed the clear ones in the middle of the circle sweets but you can place yours wherever you like).


That's the card complete I hope you enjoyed it, this bundle is a fun set to use I've made 2 other cards using it which are below for you to see and hopefully give you a bit of inspiration.


Thanks for hopping onto my blog today I really appreciate it happy crafting everyone.
Big Crafty hugs

Natalie xx

Please remember if you're placing an on line order with myself to use the Host code for the month that you're shopping many thanks x

OCTOBER HOST CODE

DDBJMKQC


Product List
 
Paper Trimmer
[152392]
£23.00


Treat on a card in a box - Little treats


Good morning everyone, yes it's tuesday again and today i have something a little bit different for you all.
I've made a treat box on a card in a box. I wanted to share with you all how beautiful these little treat boxes are, and they're so easy to assemble once die cut.
So let's get started as there is alot to get through today.

Materials for the treat box:


Real red cardstock

1pc - 5 3/4" x 8 1/4" for the die cut treat box


'Tis the season dsp

1pc - 1 3/4" x 6"  cut on the longside at 2 3/16", 2 3/16", turn and cut 2pc at 5/8"
these are for the front, back and sides of the box.


Brushed metallic 12" x 12" cardstock

1pc - 2" x 2" for the die cut scallop edged circle


Thick Whisper White cardstock

1pc - 1 3/4" x 1 3/4" for the die cut circle for the sentiment


Wonder of the season ribbon combo pack

1pc - approx 8" for tieing our box shut and on to the card


Treat box recipe:

1. Die cut your treat box and fold and burnish all of the score lines.
2. Cut your dsp and glue to the sections of the treat box as below:


3. Die cut your scallop circle , stamp and die cut your sentiment circle and glue this onto the gold circle using dimensionals. This is now glued onto the front of your treat box flat using wet glue.
4. Tie your treat box shut using your gold thread. 

That's the treat box finished now we can move on to making a card for the treat bow to attach to.

Materials needed for the card:


Thick Whisper white cardstock

1pc - 5 1/2" x 5 1/2" for the card base
1pc - 5 3/8" x 5 3/8" for the front of card layer
2pc - 4 1/2" x 4 1/2" for the front and inside of card layers
1pc - approx 3/4" x 3 1/2" for the sentiment banner


Real red cardstock

1pc - 5 1/8" x 5 1/8" for the front of card layer
1pc - 5 1/4" x 5 1/4" for the inside of card layer
1pc - approx 3/4" x 3 1/2" for the sentiment banner


Shaded spruce cardstock

1pc - 4 7/8" x 4 7/8" for the front of card layer


Wonder of the season ribbon combo pack

2pc - green ribbon 5 1/2" x 5 1/2" for the front of the card
1pc - gold thread approx 8" for tieing the 2 ribbons together in the centre of the card


Gilded gems

5 x gems for placing on the front of your card


Recipe for the card:

1. Cut all of your pieces of card that you need.
2. Score and burnish the piece for the card base.
3. Glue sll of the layers in to place except for the 41/2" x 4 1/2" piece for the front of the card.
4. With your 4 1/2" x 4 1/2" piece you need to glue your pieces of ribbon (on the ends) one at a time, more to the top of the card, by using tear and tape (double sided adhesive tape) to the reverse of it, tieing the centre of it to form a nice pleat, using the 8" gold thread. Once you have done one ribbon do the second ribbon over the top to form a cross and then using the same piece of gold thread as for the first ribbon, tie the centre nice and tight in a double knot (this makes it look like a present when wrapped with ribbon), leaving the 2 ribbons tied together in the centre.
5. Stamp your sentiment onto the whisper white banner piece and then glue together with the real red piece and give it a slight curve using your bone folder. Punch a hole in the top of it and using the remainder piece of the 8" thread tie it onto the front of the card.
6. Now with the gold thread that is holding your treat box together tie the box onto the front of the card (make sure you have your treat inside the box before you tie it in place).
7. Glue your gilded gems onto your card where you would like them to be.

That's the card finished which leaves a box to made for it all to fit into.


Materials for the card box.


12" x 12" whisper white cardstock

1pc - 8 5/8" x 8 5/8" scored on each side at 1 1/2" for the box base
1pc - 8 3/4" x 8 3/4" scored on each side at 1 1/2" for the box lid
1pc - 3 3/4" x 3 3/4" for the box lid layer
Scrap piece to punch out your postage stamp


Real red cardstock

1pc - 5 5/8" x 5 5/8" for the box lid layer
4pc - 1 3/8" x 5 5/8" for the box lid sides


Wonder of the season ribbon combo pack

1pc - approx 24 1/2" for the outer edges of the lid
1pc - approx 12" for the tieing of a bow


Box recipe:

1. Cut and score both your base and lid pieces.
2. Cut all 4 corners like below


2. Glue your corners together on both pieces making sure you keep them nice and square.
Put your lid onto the base as this will make it a bit easier to assemble the rest of the box.
3. Cut all of your red pieces and glue them into place on the lid.
4. Mark the sides of your lid a 1/4" in from the top and the bottom. Now using tear and tape (double sided adhesive tape), place it all around the lid, sing your marks as a guide to keeping it straight and where it's needed.
5. Take the backing off of the tape and then starting from one of the corners glue your ribbon into place, have the beginning of your ribbon piece tucked around the corner to start with, keep the ribbon nice and tight, carry on glueing it into placeand then with a bit of tape on the reverse of the opposite end of your ribbon, glue it over the top of the first end you've glued into place and cut the end off to meet with the corner edge, this gives your ribbon a nice neat finish.
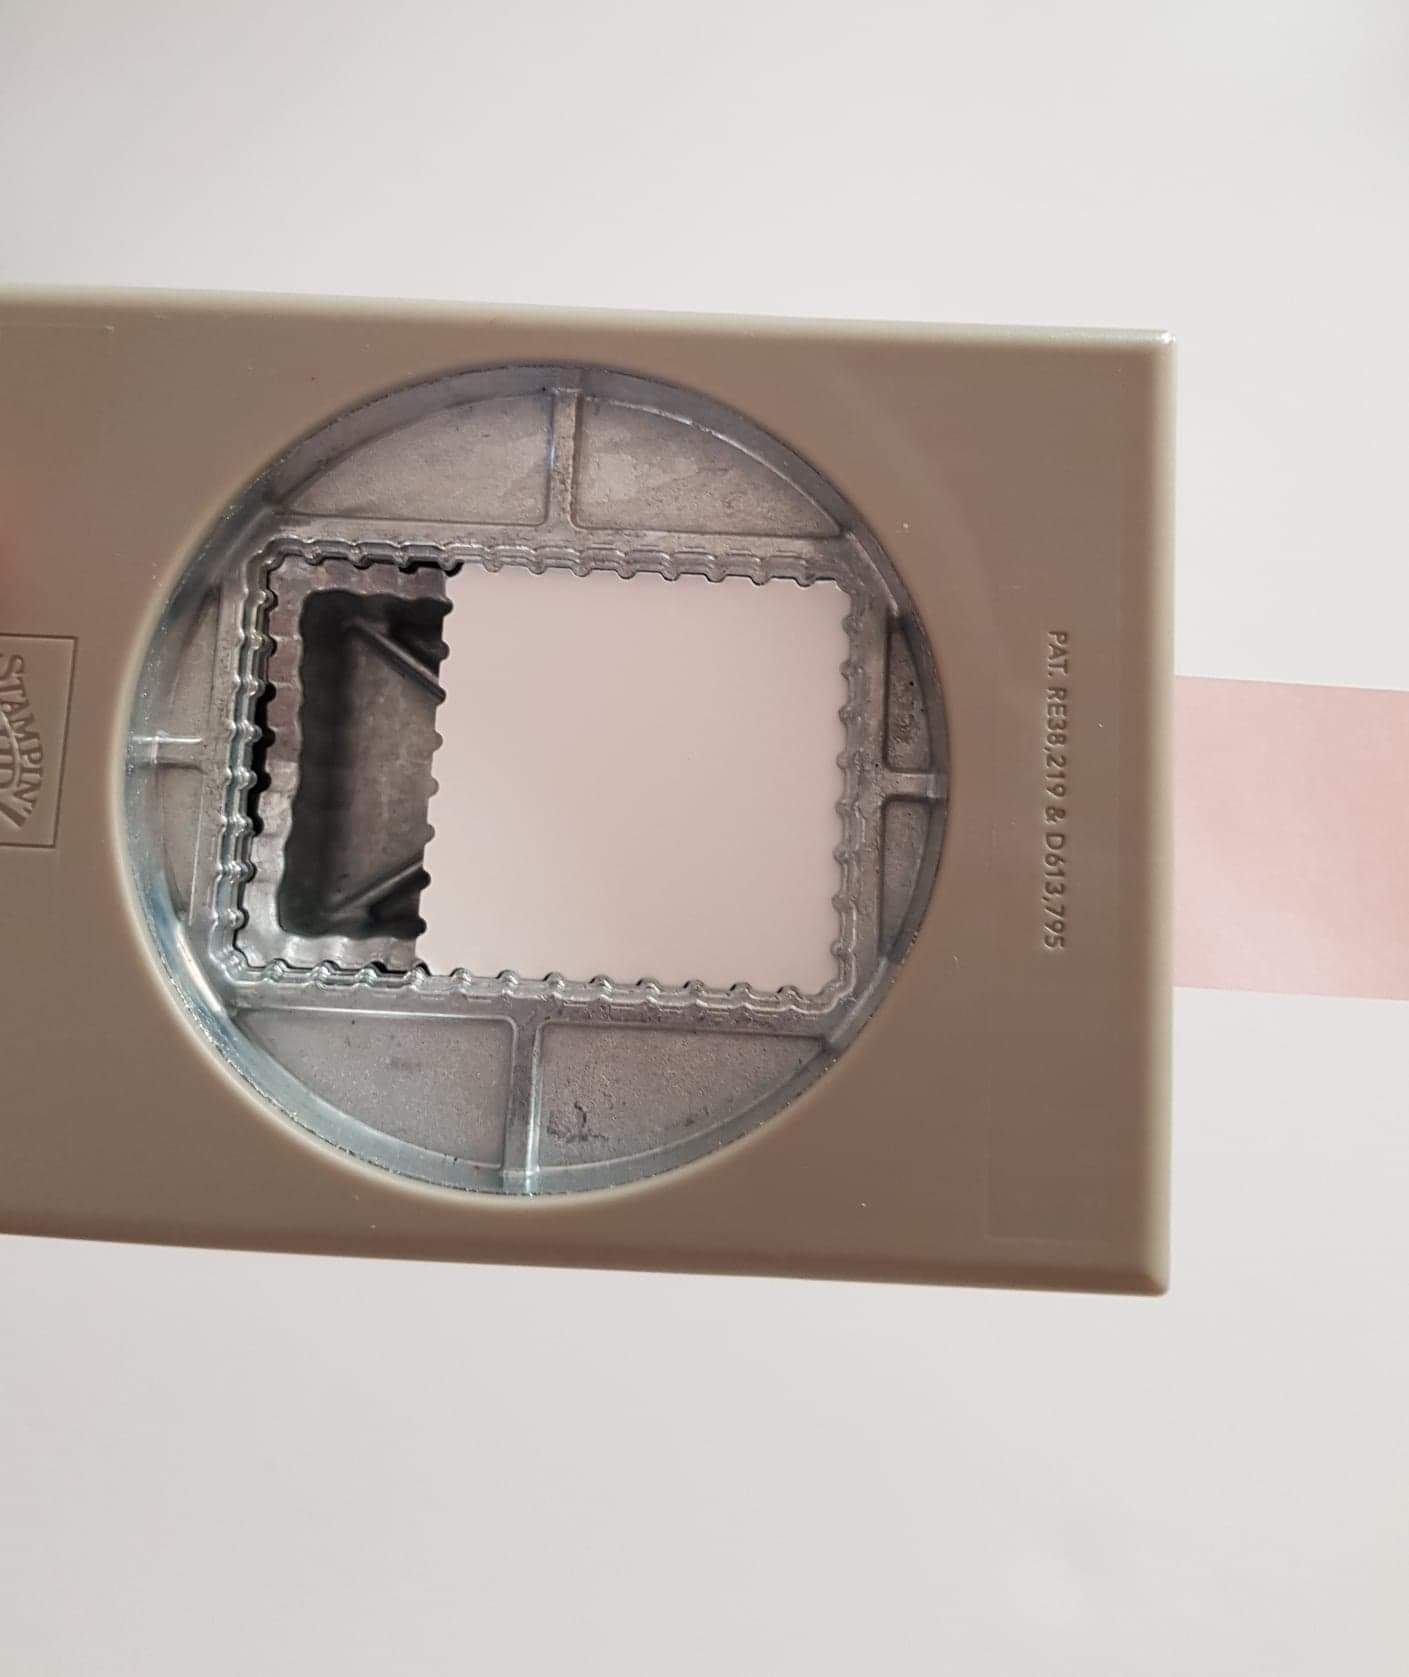
6. Cut your whisper white piece for the top, punch your postage stamp out turing it into a square by placing the punched out piece back into the punch and punching it again, using a piece of a post it note to hold it into the punch whilst you re cut it.

 
7. Now you need to stamp your postage image onto the layer piece of card and using your stamparatus (stamping platform if you haven't got a stamparatus), you need to stamp part of the image onto the punched out postage stamp so that it lines up. See below how I did it.

8. Glue this piece into place now using wet glue.
9. Tie yourself a bow and using glue dots glue onto the box lid.

The box is now complete and you should have a lovely gift on a card in a box to give to someone very special in your life. 


I've made it as a christmas box but you could have it as any occasion that you like, it would be lovely as a birthday gift and you could put an expensive chocolate inside the treat box along with some money. Hope you have fun making some of these up for yourselves for different occasions. 
I've also used the treat boxes and the really great card stand that Stampin' Up are selling to create a lovely advent calendar for christmas!!!


I've really enjoyed playing with this little treat box there are so many things that you could use them for.


Thanks for taking the time to pop and look at my blog I really appreciate it. Please do contact me if you'd like to ask any questions about todays project, any of the products I've used, how to shop with me or if your interested in joining my Stampin' Up team, I'd love to hear form you.
Take care till next time
Big Crafty Hugs
Natalie xx


Products used for todays project:
(click on any of the links and you will be taken to my shop to the item you clicked on)


AUGUST HOST CODE for on line orders under £150

6HHCMRGF

Thursday, 20 August 2020

SUOC 256 : Sketch challenge


Hello everyone, and welcome to another SUOC Challenge. This time it's a sketch challenge, and the sketch is from the annual catalogue page 94


I absolutely love this set 'Whale done'. We could choose either of these layouts and add a bit of a twist to it if we wanted. I've chosen to use the banner layout for my sketch challenge, so let's get started.


I've chosen to use the 'Beautiful Autumn'. It's got some very rich autumnal colours in it including copper. The papers are just exquisite and lend themselves to making a beautiful card.

Materials needed:


Early espresso cardstock

1pc - 10.5cm x A4 length (UK) score @ 14.8cm - card base
small scrap piece to punch out one of the leaves


Thick Very Vanilla cardstock

1pc - 10.2cm x 14.5cm front of card layer
1pc - approx 1.5cm x 5cm for the sentiment
1pc - 10.1cm x 14.4cm for the inside of card
Small scrap piece to stamp and fussy cut three leaf elements


Cajun craze cardstock

1pc - 9.9cm x 14.2cm front of card layer


Gilded Autumn speciality DSP

1pc - 9.3cm x 13.6cm front of card layer - foil side of paper
1pc - 2cm x 9.3cm front of card strip - otherside of paper
Scrap piece to punch out lots of the co ordinating foil leaves


Copper foil sheet

1pc - 5cm x 10cm to punch out a banner using the banner punch
Small scrap piece to punch out one of the leaves


Vellum cardstock

1pc - 5cm x 13cm to punch out a banner using the banner punch and tucking the excess over the back of the copper one to glue in to place.


Metallic ribbon

2pc - approx 16cm to tie around the dsp strip and dsp layer coming from both ends


Acorn trinkets

1 needed to tie on to the ribbon


Card recipe:

1. Cut, score and burnish your card base.
2. Cut all of your layers for the front of the card, glue the very vanilla piece and the cajun craze piece to the front of your card. Cut the piece for the inside and glue this in to place also.
3. Cut your dsp strip and glue in to place on to your dsp layer, now using tear and tape glue one end of each of your ribbon pieces to the reverse side of your layer and then tie them in a knot - incorporating the acorn trinket as you do so. Glue this on the front of your card flat.
4. Cut and punch the ends of both your copper piece and your vellum piece, emboss the copper one using the embossing folder, this will give the copper a slight distressed look.
5. Match your vellum piece up with the tails of the copper embossed banner and fold it over the top, glue to the back using tear and tape to hold it in place. On the front of the vellum banner you can use a bit of wet glue to hold it in to place by putting it where you will be placing all of your elements which will cover the seen glue up (I added the vellum as it gave a softer look but it does still look beautiful without it).
6. Glue the banner to your card using dimensionals.
7. Cut and stamp your sentiment piece.
8. Punch out lots of your leaves and stamp and fussy cut 3 x leaf elements.
9. Using tear and tape on the back of your sentiment take the backing off and fix some of your leaves on to it arranging them how you like, now using dimensionals glue your sentiment in to place.
10. Place some of your foil leaves and acorns on to the dsp layer, I used 1 dimensional for each of the acorns giving them more depth, but just a small amount of wet glue for the leaves.
Card finished, hope you enjoyed it as much as I enjoyed creating it.
Take care till next time and keep crafting 
Big Crafty Hugs
Natalie xx


Products used:


AUGUST HOST CODE for on line orders under £150
6HHCMRGF


Tuesday, 18 August 2020

Beautiful Autumn bundle


Hello again everyone it's Tuesday again already and heading into the second half of August.  The weather thankfully has cooled down a bit in Essex which makes it a bit easier for concentrating, which to me is a bonus.
Today I've made a really cute 4" x 4" card using a beautiful bundle, which is actually called ' Beautiful Autumn' and what I really love about this bundle is that you get 3 x punches instead of dies.
So without going on any longer let's start the card, which is a relatively easy card to assemble.

Materials needed:


Very Vanilla thick cardstock

1pc - 4" x 8" score on the longside @ 4" - card base
1pc - 3 7/8" x 3 7/8" - front layer stamped with the seniment
1pc - 3 5/8" x 3 5/8" for adhereing to the back of the dsp


Gilded Autumn Speciality paper

1pc - 3 5/8" x 3 5/8" for the front of card
1 sheet for punching out leaves and acorns from


1 Gold hoop embellishment for the inner of die cut circle

Metallic ribbon for the front of card bow


Card recipe:

1. Cut, score and burnish your card base.
2. Cut your  pieces for the front of your card from your card and dsp.
3. Glue the piece of dsp to the same size piece of card and leave to dry.
4. Punch out all of your leaves and acorns that are neede from the sheet o dsp which has them all printed on.
5. Tie your bow ready to be placed onto your finished card.
6. Now that the dsp and card that you've glued together are dry you can die cut a circle in the middle using the 4th largest circle die.
7. Place the piece with the circle apperture cut out of it over the piece that you've cut for the front of your card ( 3 7/8" x 3 7/8") and draw very lightly where the apperture is, then take the apperture piece off and you can then see where you need to stamp your sentiment centrally.
8. Glue the 2 pieces together now and then glue them to the front of your card.
9. Run a little wet glue all the way round the inside of the circle apperture and place your gold hoop on to it, leave it to dry.
10. Carefully position your leaf and acorn elements in to place and apply glue once your happy with the layout of them.
11.Using a glue dot put your bow into place. And that's the card finished.

Hope you liked todays project it was a really lovely card to make and I think you could batch make these quite easily.

Thanks for popping by my blog take care.
Big Crafty Hugs
Natalie xx


Products used :


AUGUST HOST CODE for on line orders under £150
6HHCMRGF