About Me

My photo
My name is Natalie and I love anything to do with card/paper. I have been a papercrafter for many years now and I never get bored playing with all the wonderful products available. I've been married to my wonderful husband Nathan for 35years now and we are still very much in love with each other as the first day we met each other. We have 3 wonderful children and 5 gorgeous grandchildren so we have lots to be thankful for. Since joining Stampin' Up! in 2018 I've grown so much in confidence with myself and I even tackle technology, which for me is a huge step to have taken, but I'm getting there slowly.

Tuesday, 17 November 2020

Playing with patterns circle card


Hello again and welcome to another craft tuesday. Today I thought I'd use the 'Playing with patterns' suite. This is a really great suite as it contains a delightful alphabet die set which I absolutely love for adding words to the front of a card or a project, it's not too big and you get to make any word that you desire. So let's begin with this very retro looking card which I feel you could make in to a male card as well as a female card and you could even make a childs card, just by changing the dsp that you use and maybe leaving out the bow.

Materials needed:

Whisper white thick cardstock

1pc - 14.8cm x 21cm score on longside at 10.5cm for the cardbase

1pc - 10.1cm x 14.4cm for the front of card layer

1pc - 1.5cm x 10.1cm for the front of card strip


Coastal cabana cardstock

1pc - 10.1cm x 14.4cm for the inside of card

1pc - 10.3cm x 14.6cm for the front of card layer

1pc - 1.8cm x 10.1cm for the front of card strip


Playing with patterns 6" x 6" dsp

3 different patterned sheets for the die cutting of 3 x circles


Calypso coral cardstock

1pc - 2.5cm x 8cm for the die cut 'HAPPY'


Foam adhesive sheets

1pc - 2.5cm x 8cm for the die cut 'HAPPY'


Playing with patterns resin dots

5 x for the front of card


Playing with patterns ribbon combo pack

1pc - Coastal cabana ribbon long enough to tie a bow


Card recipe:

1. Cut, score and burnish where necessary all of the pieces of cardstock for the cardbase and the inside and outside of the card. Glue them all in to place.

2. Die cut 3 x circles you need to use the 3 largest dies in 3 different patterns.

3. Now cut all of these circles in half, I folded mine in half and nipped the edges then I could see where I needed to cut them. Glue the circles flat to each other as in the picture below.

4. Now find the middle of the card front and glue the 2 circle halves (3 glued together x 2) on to it, like below.

5. Stamp across the white strip for the front of card using one of the Pattern play stamps, using Calypso coral ink. Glue this flat to the Coastal cabana strip and then glue flat to the front of card, covering up where the 2 circle halves meet.

6. Take one of the backings off of the foam adhesive sheet piece, and stick this on to the calpso coral piece of cardstock. Lay the 'HAPPY' dies on to it and run it through a die cutting machine, you might need to run it through a few times as it has to cut through the foam as well as the card.


7. Carefully remove the letters, peel off the backing and glue flat on to the strip across the front of the card. 

8. Now stamp up the word 'Birthday' I've used the one from 'Here's a card' stampset 149438 which I forgot to add to the product list below. I've used a stampin' write marker pen to do this as it enables you to just ink the word that you want to use. I've used calypso coral to match in with the colour of the stamped strip piece, again I forgot to add this to the list below 147156.

9. Now all that is left to do is tie a bow and attach to the card using mini glue dots, place the resin dots on to the front of card and that is the card finished.

Hope you enjoyed todays project. I loved the way the card finished off today in all the subtle colours, hope you find time to make one of these cards yourself and enjoy doing so.

Take card and stay safe

Big Crafty hugs

Natalie xx


Please remember when placing an on line order with myself to use the host code for orders under £150 so that I can send you a small thankyou gift the following month in the post.

NOVEMBER HOST CODE

NW3UKEYE


Product List

Paper Trimmer
[152392]
£23.00

Wednesday, 11 November 2020

#SUOC - Thanksgiving card


Hello again everyone, and welcome to another SUO challenge. This time the theme is  'Thanksgiving', and although it's something that we don't really have a particular day of the year to celebrate in the UK , I thought it was a great opportunity to make a card to celebrate the fact that we all have something to be thankful for this year, with everything that is going on in the world.

So let's get started....


Materials needed:

Whisper white thick cardstock

1pc - 4 1/4" x A4 length scored at 5 7/8" for cardbase

Plaid tidings 6" x 6" dsp

1pc - 4 1/4" x 5 7/8" for the front of card

Cajun craze cardstock

1pc - approx 4 1/4" x 5 7/8" for the die cutting of the large die 

Garden green cardstock

1pc - approx 4 1/4" x 5 7/8" for the die cutting of the other large die

1 scrap piece for the die cutting of small leaf

Pumpkin pie cardstock

1 scrap piece for the die cutting of  leaf

Crushed curry cardstock

1 scrap piece for die cutting of leaf

Brushed metallic cardstock

1 small piece for die cutting of the sentiment words

Gilded gems

3 for the front of card


Card recipe:

1. Cut, score and burnish the cardbase.

2. Cut and glue flat into place the dsp piece for front of card

3. Die cut  2 large die pieces . Cut the cajun craze piece to the size you require and glue flat onto the card front.

4. Glue the garden green die cut piece into place.

5. Die cut the 2 sentiment words ' Happy Thanksgiving'. Glue the 'Happy' onto the front of the card.

6. Die cut all of the leaves, glue the 'Thanksgiving' sentiment across the large crushed curry leaf and then glue all of the leaves to the front of the card.

7. Glue the gems into place and that is the card finished.

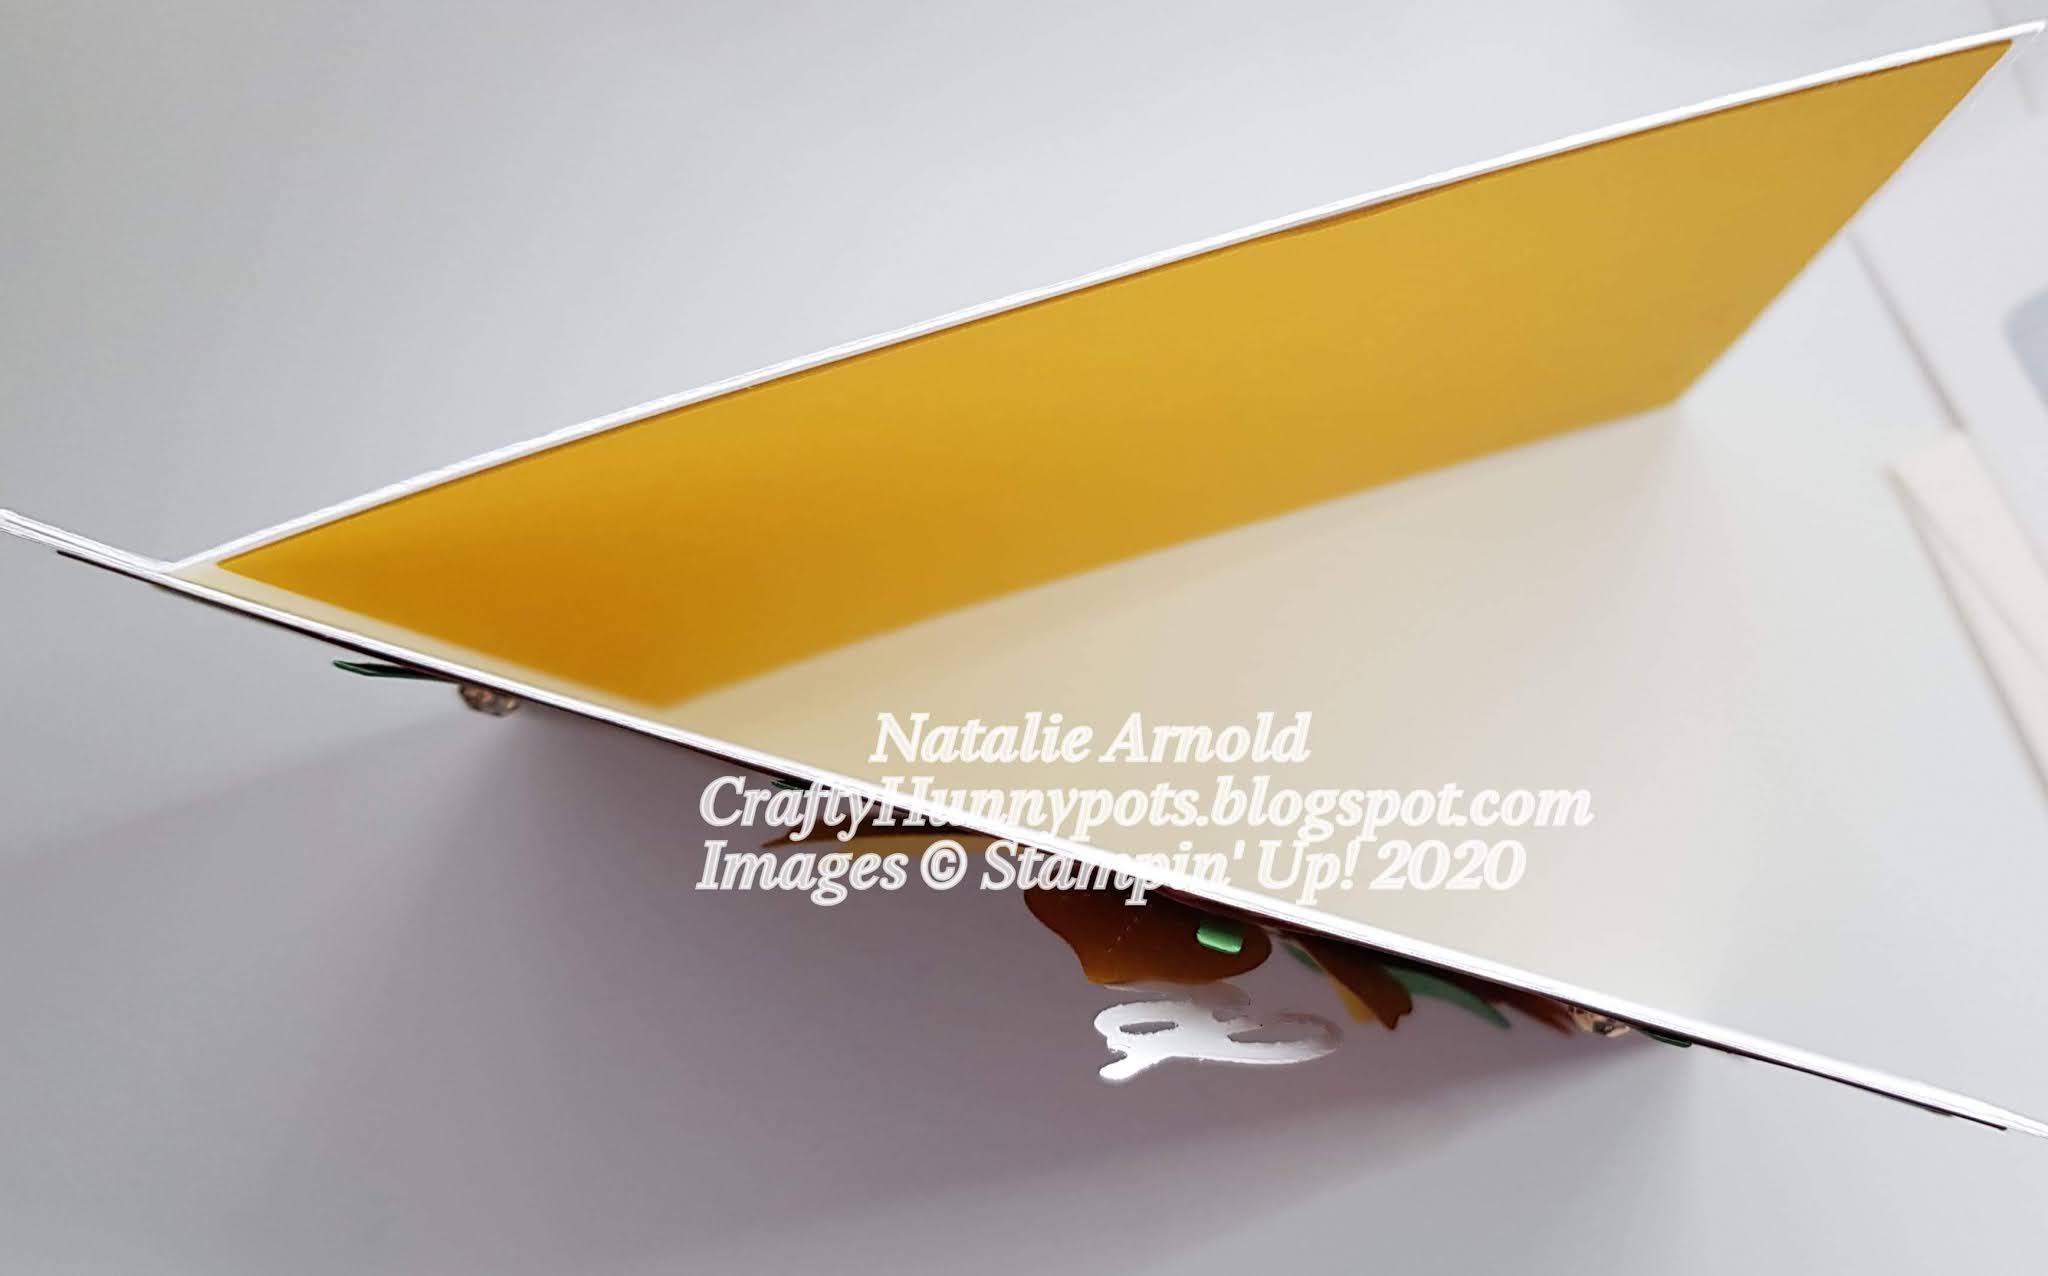
I have as an extra scored the back inside of my card 1/2" from the fold, glued a piece of crushed curry cardstock measuring 4 1/8" x 5 1/8" on the lower piece of card, under the 1/2" score line and then glued the score line piece flat with the front of the card. This enables the card to stand up and not splay open.


Hope you enjoyed this fun and easy project that I've made today and hopefully you'll give it a go yourself. Thanks for hopping on and giving my blog a look I really do appreciate it. Take care till next time.

Big Crafty Hugs

Natalie xx


NOVEMBER HOST CODE

NW3UKEYE

Remember to use this code if you are placing an on line order with myself and it comes to less than £150 so that I can send you a small thankyou in the post the following month.

If your order however comes to more than £150 then please don't use my Host code, claim the rewards youself.


 Product List

Gilded Gems
[152478]
£6.50
Paper Trimmer
[152392]
£23.00


Tuesday, 10 November 2020

Curvy celebrations - Thinking of you


Hello all and welcome to another craft tuesday. Hope you are all well and ready for a new project. Today I'm sharing a card made using the brand new 'Quite curvy' bundle. This new bundle is fast becoming a favourite of mine as you can use the dies that come with it alongside any of the other stampsets and dsp's that there are to use, which is a complete win win for me!

I've actually made a few of these cards to send to some of my lovely crafty friends to wish them well - hope they like them.......

So let's get started.


Materials needed:

Gray granite cardstock

1pc - A4 length (uk) x 10.5cm scored on longside at 14.8cm for the cardbase

1p - 6.5cm x 14cm for the front of card curvy die cut layer

1pc - Approx 3cm x 8cm for the sentiment layer


Whisper white thick cardsock

2pc - 10cm x 14.3cm for the front and inside layers

1pc - Approx 2.5cm x 7.5cm for stamping the sentiment on to


Petal pink cardstock

1pc - 9.7cm x 14cm for the front of card embossed layer


Peony Garden dsp

1pc - 5cm x 14cm for the front of card curvy die cut layer


Petal pink organdy ribbon

Length long enough to tie a bow


Elegant faceted gems

3 different colours for front of card


Dainty Diamonds 3D embossing folder

For embossing the petal pink layer


Gray granite classic stampin' pad

For stamping your sentiment


Card recipe:

1. Cut, score, burnish, die cut and emboss all of the different layers.

2. Glue flat the 2 x whisper white layers to the front and inside of cardbase.

3. Glue flat the petal pink embossed layer to the front of the card.

4. Now Glue flat the 2 die cut layers to the front of the card.

5. Stamp the sentiment using the stamp from ' Woven Heirlooms' stampset and then glue this piece flat onto the gray granite piece (cut both pieces at a slight angle on each side to give them a different look, do this before glueing them together). Now  glue this whole piece flat to the front of the card.

6. Add the 3 x gems to the card, tie a bow and glue this on using glue dots.

Card finished.

Hope you liked todays project it was a very simple card to make, but having used the beautiful curvy dies it gave it a lovely finished look.


Please remember if shopping with myself on my on line shop, and your order is under £150 to use this months host code to enable me to send you a small gift in the post the following month.

November Host code

NW3UKEYE

Thanks for hopping on to take a look at my blog I really appreciate it. Take care, stay safe and happy crafting.

Big Crafty Hugs

Natalie xx


Here's a different card I've made using the 'Quite curvy' stamps and dies and incorporating a bit of white heat embossing making it look quite a bit different to the other one.


Product List

Paper Trimmer
[152392]
£23.00
r />